
These instructions describe how to manage Office 365 Distribution Groups/Lists online through the Office 365 portal.
From the Office 365 Email portal, in the upper right-hand side click on the Wheel. This will open the settings menu.
This will bring you to the “Mail Options” page

Click on “General” on the left-hand menu and then select “Distribution Groups”

This will open the distribution group settings. Alternatively, visit https://outlook.office.com/owa/?path=/options/distributiongroups
Go to the right-hand side of the page and you will see the “Distribution Groups I Own” section.
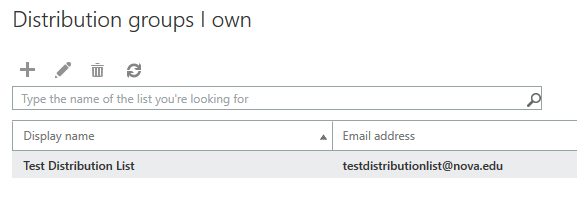
Select the distribution Group that you want to edit and click the pencil in the menu above, or double-click on the distribution list.
Click on "Membership" in the left-hand menu.
Click the “+” sign to open the dialog to add users. Add the users you want and click save on that window.
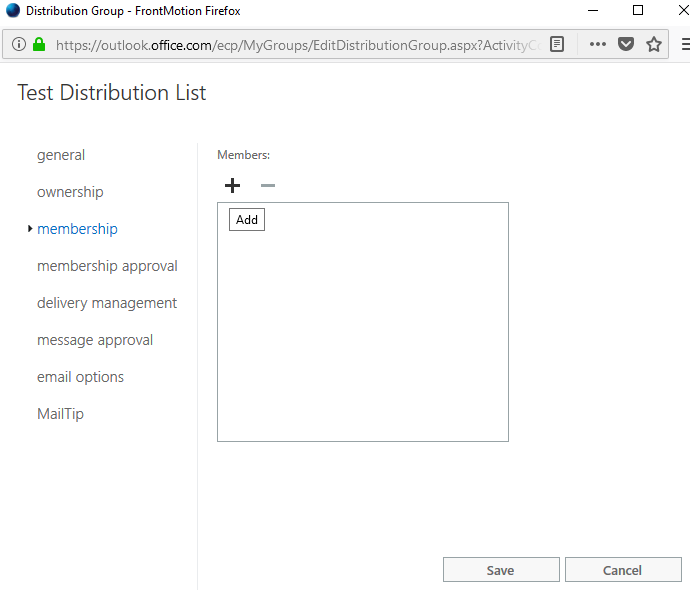
When done adding members click the save button at the bottom of the window.
Message moderation is added similarly to adding members. A moderator is a person who must approve emails being sent to the distribution list and is useful in large groups to ensure spam, phishing or otherwise undesirable messages don't get sent to the group.
Click on "Message Approval" in the left-hand menu.
Click the “+” sign to open the dialog to add users. Add the users you want and click save on that window.

When done adding moderators, click the save button at the bottom of the window. On the same page, you can add senders who don't require moderation, but we recommend keeping a moderator for all email on a large list for the reasons listed above.