The Office of Innovation and Information Technology has selected Zoom as the web conferencing solution. Zoom was selected for its simplicity, reliability, and consistency across devices creating a seamless user experience for all.
Some notable features:
- Canvas, Kaltura (SharkMedia), and Outlook integrations, among others.
- Accessibility improvements like keyboard shortcuts and screen reader support.
- Whiteboarding, nonverbal feedback, and video sharing with computer audio.
- Zoom AI Companion
- Participant limit of 300 attendees per meeting.
Zoom is available for students, faculty, and staff.
To create your own license and start "Zooming" right now visit: https://zoom.nova.edu, click sign in, and follow the prompts.
Training Information
To equip for your success with Zoom, you can sign up for live daily webinars at learning.zoom.us/learn.
Zoom Status Page
View the Zoom system status page to get updates on current outages, planned maintenance and a history of past issues at https://status.zoom.us/.
Zoom Technical Support
Eager to get a jump start? Learn more about it by going to Zoom's support page and search for popular topics, dive into the video tutorials page, or call support directly. There are videos covering a wide variety of topics like scheduling a meeting, adjusting audio and video, or using breakout rooms. Most videos are under 2 minutes or less, making it easy to hop in and learn something new.
- Zoom Support
- Zoom Video Tutorials
- Zoom Support – 1-888-799-9666 Ext 2 (Available 24/7/365)
For additional questions about the product reach out to Wendy Meyers (wendym@nova.edu) or Larry Lettie (llettie@nova.edu).
Frequently Asked Questions
I’m trying to sign into Zoom on my computer and I’m getting an incorrect email or password message.
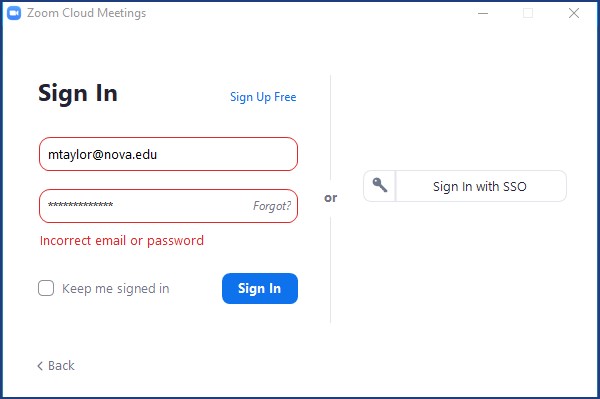
First, make sure you have created a Zoom account. You can confirm this by logging in https://zoom.nova.edu and clicking sign in. Once you reach your profile page continue to the steps below.
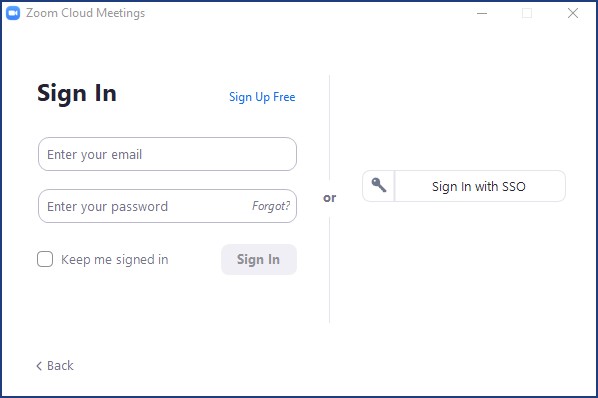
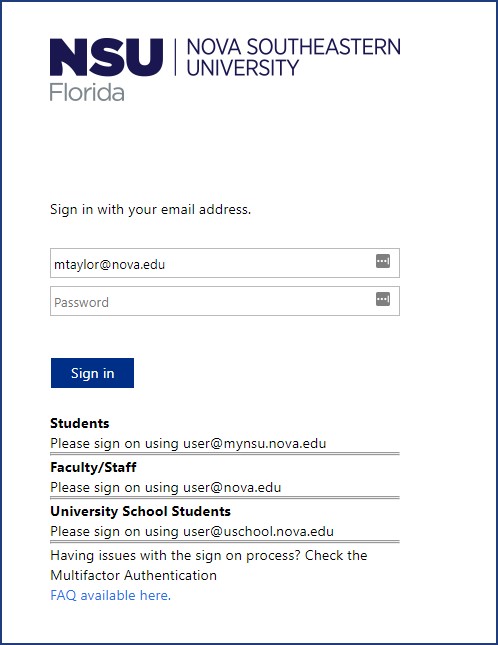
When signing into Zoom at the application level, use the “Sign In with SSO” button to the right of the email and password fields.
Next, make sure that nova.zoom.us is listed on the sign in with SSO screen. If it’s not, enter “nova” and click continue.
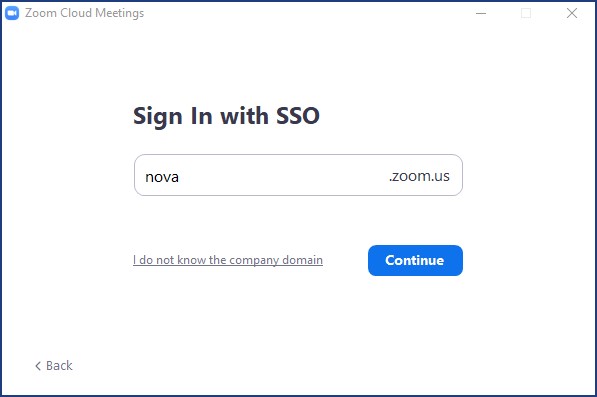
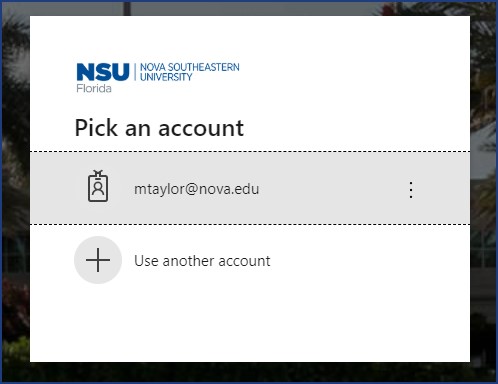
You will be redirected to an NSU login page or asked to pick an account to login with depending how you are accessing Zoom. For example: From an NSU computer on campus you might be asked to pick an account, whereas from your personal computer off campus, you might be asked to enter your email address and password.
 |
 |
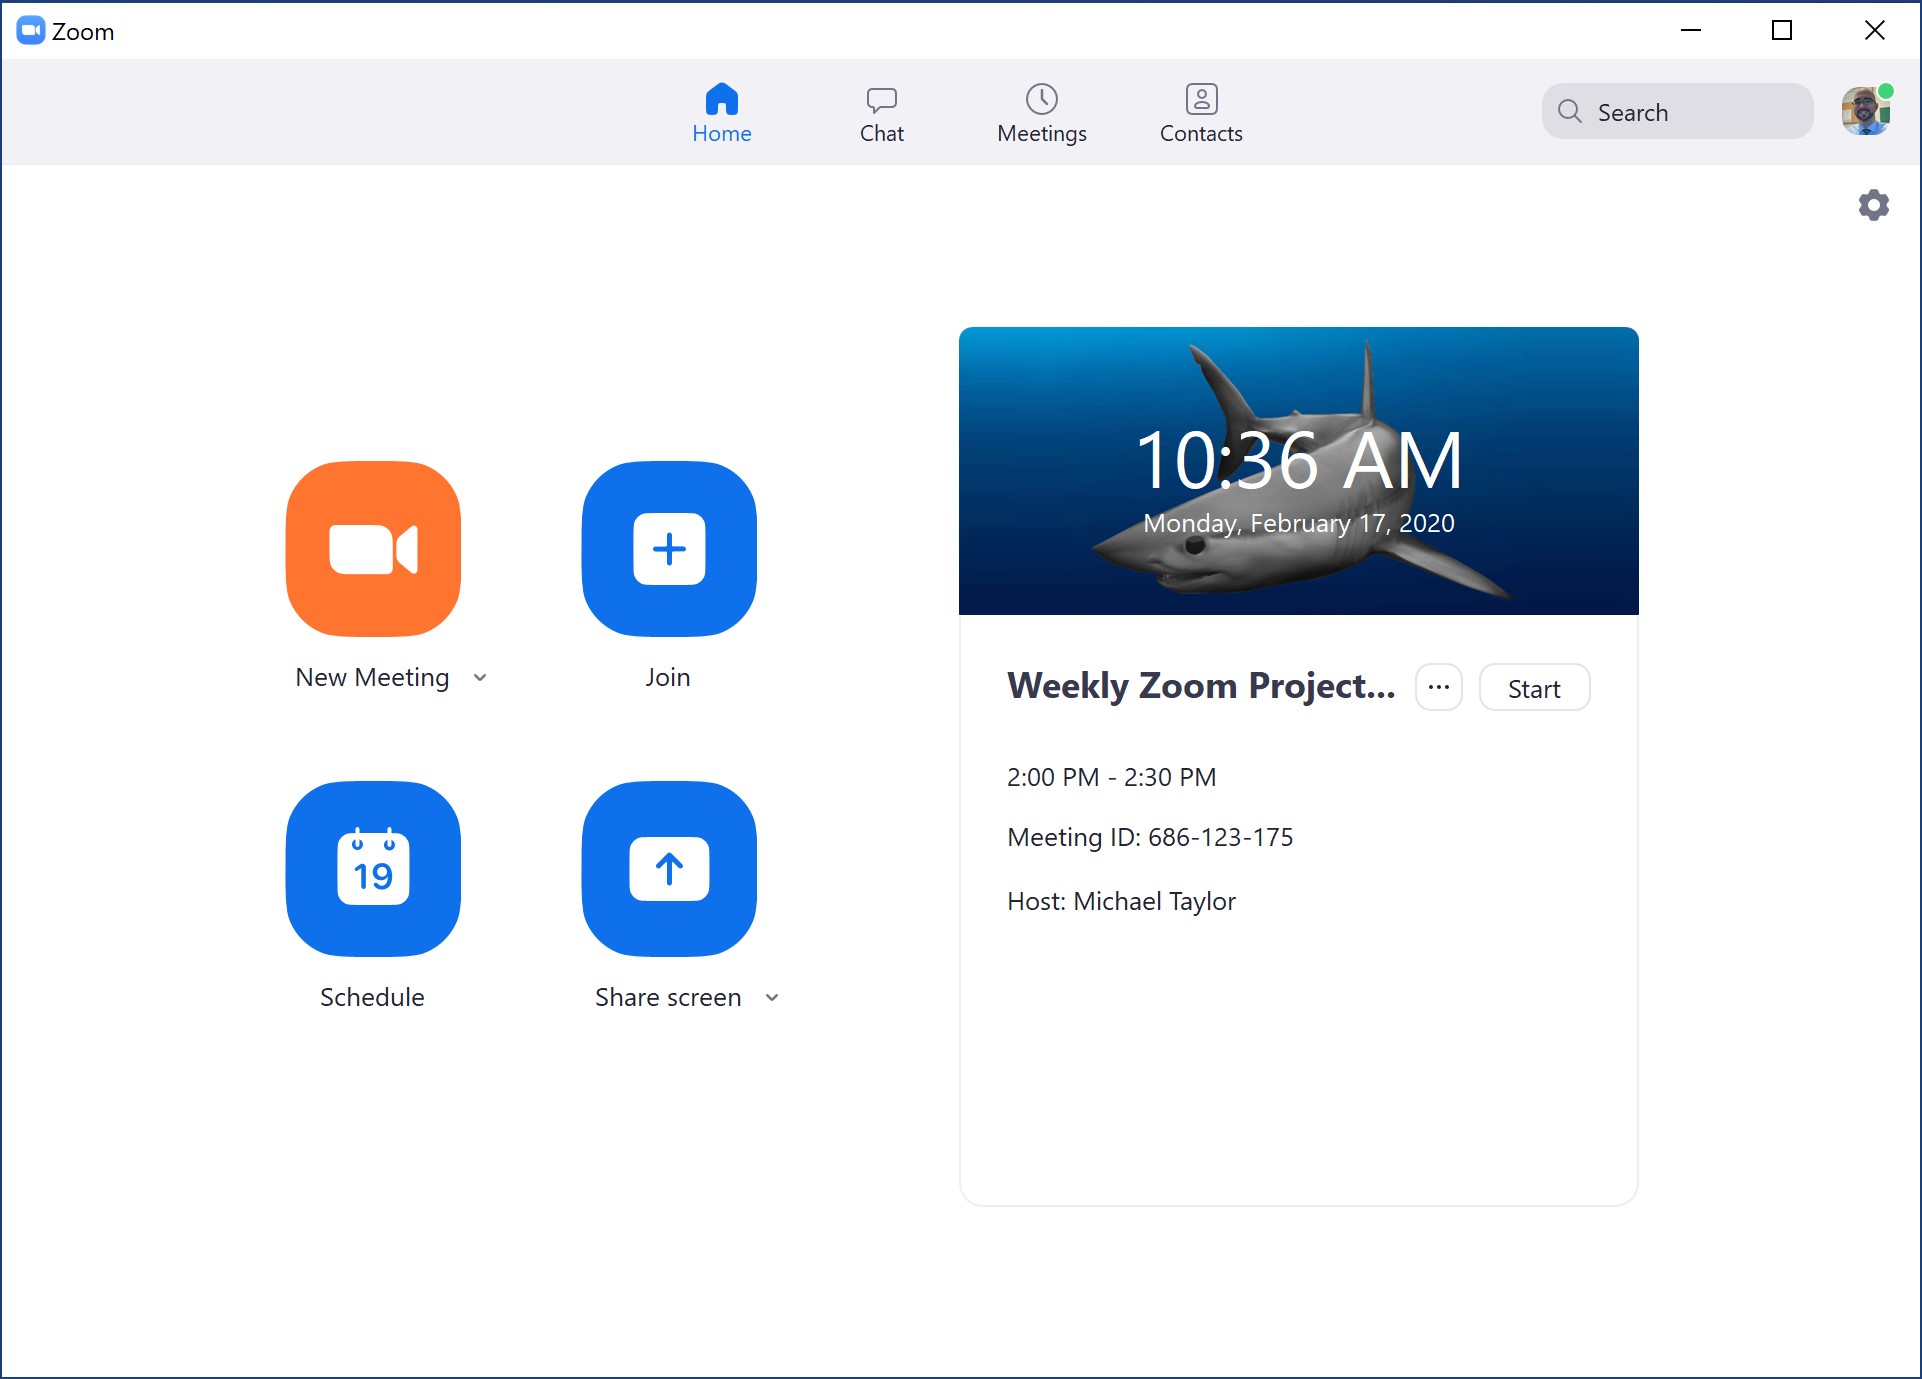
Once you complete this step you will be logged into your Zoom account at the application level.
A brief video containing helpful information regarding the proper way to handle yourself while participating or hosting Zoom meetings as seen in Common Threads 6 19 2020 posted by NSU's Jonathan Harrison, Director of Learning and Organizational Development, from Human Resources.
Visit https://zoom.nova.edu or https://nova.zoom.us and click sign in.
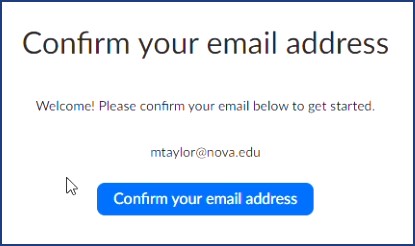
The first time you login you will see a message requesting you to confirm your email address.
Click confirm your email.
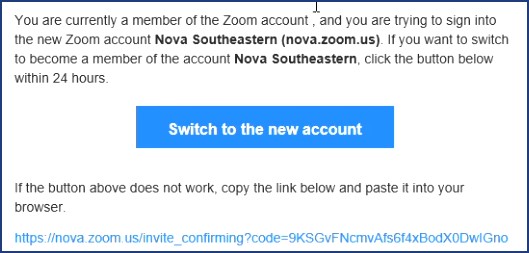
Check your NSU inbox for an email from no-reply@zoom.us titled, “Confirm the requested change to your Zoom account.”
Note: If you don’t see it in your inbox, check your junk mail.
Once you find the email, open it and click the button “Switch to the new account.”
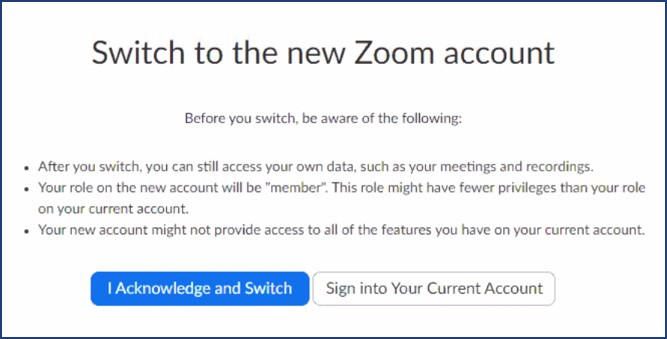
A new browser window will pop. Click “I acknowledge and switch.”
Once your account has been switched, you will see a message onscreen alerting you to the change, and asking you to login.
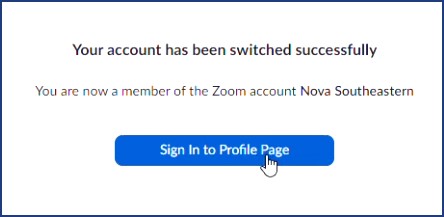
You will be redirected to your Zoom profile page. Any recordings or upcoming scheduled meetings will carry over into your NSU account.
Click the link below to view a short video stepping through the whole process.
Generic email addresses like those used in shared mailboxes or group emails do not qualify for a Zoom license. There are security risks that prohibit the sharing of passwords used to access generic accounts. As a workaround, create a license with your email account, and add co-hosts to your meetings when you schedule them. If an end user leaves the University, you can submit a ticket to request the transfer of upcoming meetings and recordings to a different NSU account.
For NSU computers running Windows, Zoom is available in the NSU Appstore.
Double click the NSU appstore icon on your desktop.
![]()
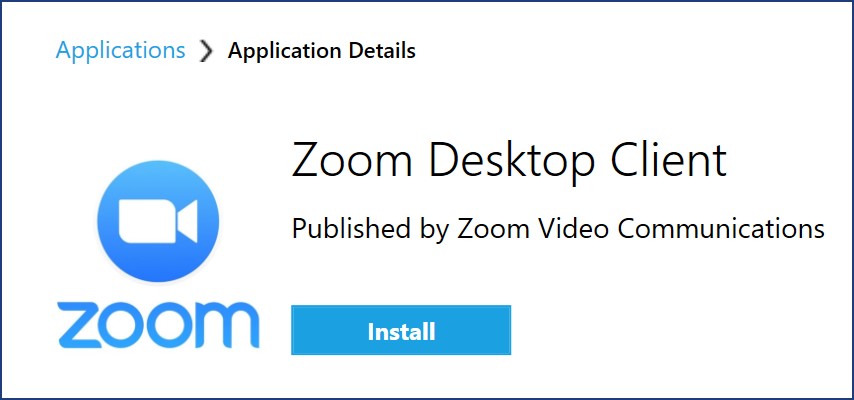
Click the Zoom icon on the applications page.
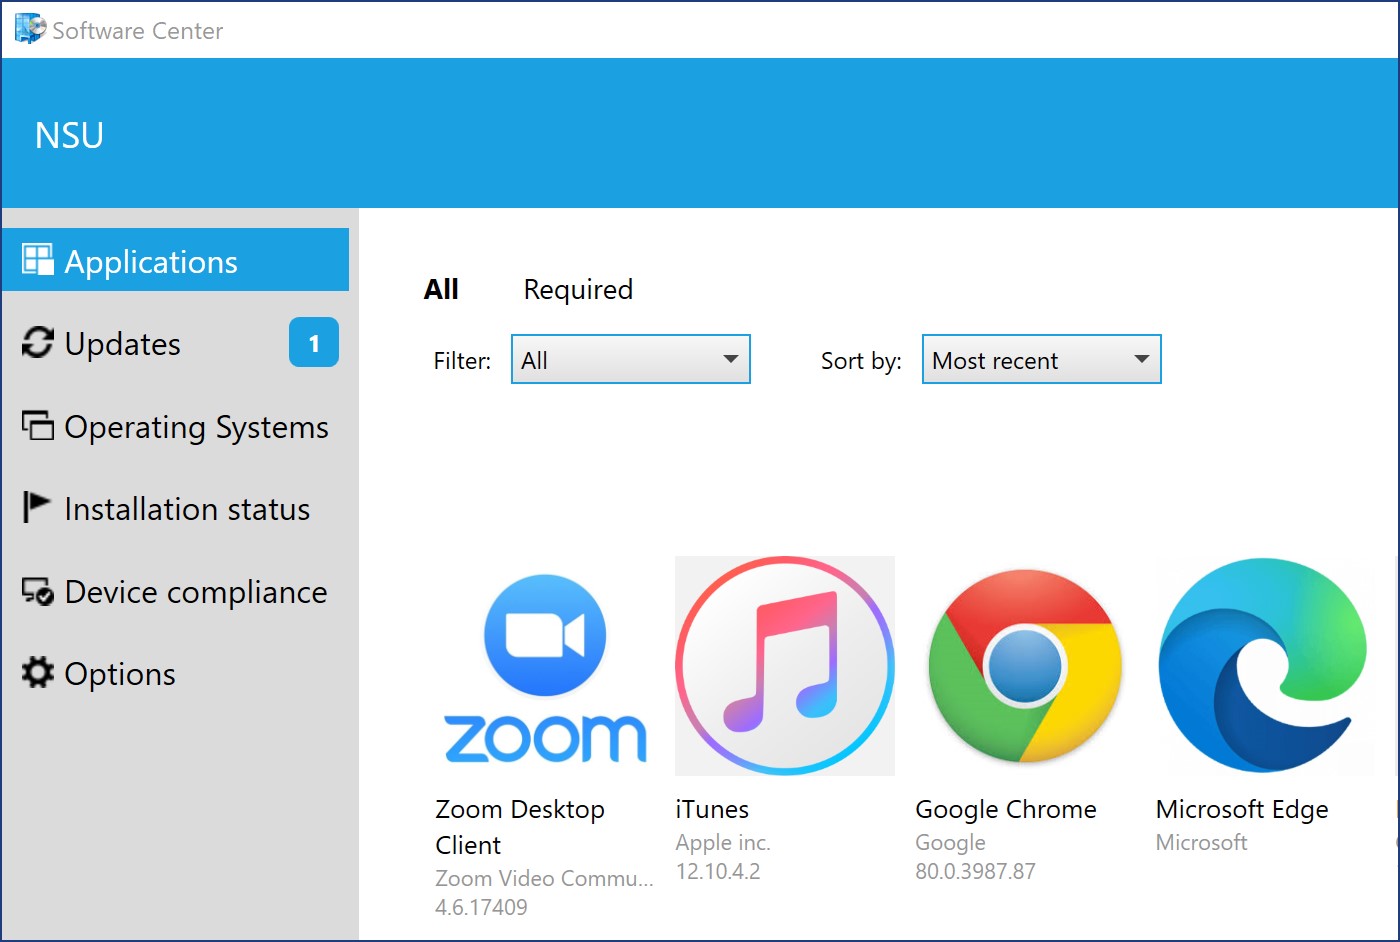
Then click the install button on the Zoom application details screen.
For all other computers it can be downloaded directly from the Zoom Download Center.
If you have a mobile device, visit the iOS or Android store from your mobile device.
Zoom recordings are stored in Zoom's cloud storage solution and in SharkMedia simultaneously. While recordings only remain in Zoom storage for 150 days from the date of recording, they remain in SharkMedia (Kaltura) indefinitely or until the owner of the recording deletes them.
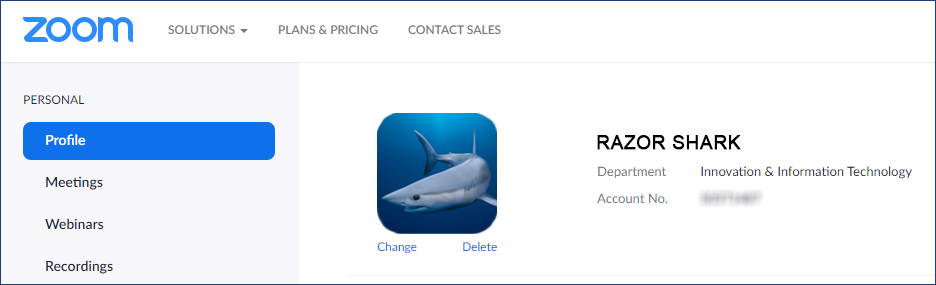
Name and department information in Zoom is extracted directly from Banner. If you notice your name or department information appears incorrect on your Zoom profile page, then you will need to contact your HR representative and request the change be made in Banner.
Canvas Frequently Asked Questions
- Sign Into Canvas: https://nsu.instructure.com/
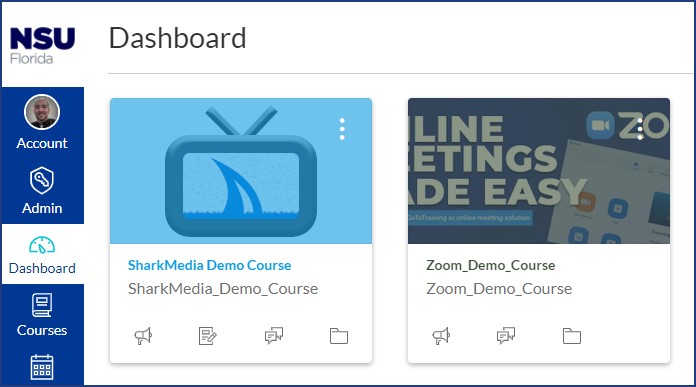
- Open a canvas course from your dashboard or courses page.
- Click “Zoom” from your course menu.
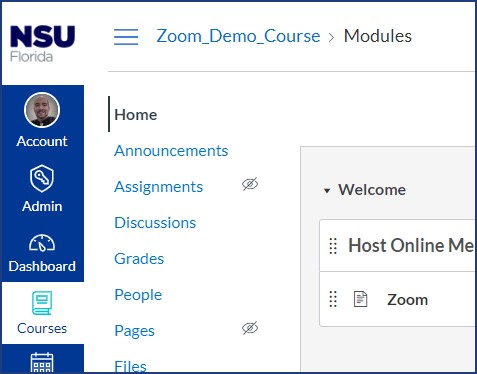
If Zoom is not listed in course menu:- Click Settings at bottom of course menu.
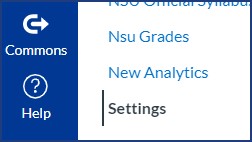
- Click the Navigation Tab.

- Click and drag Zoom from the “hide from students” section at the bottom to the add
to the course navigation section at the top.
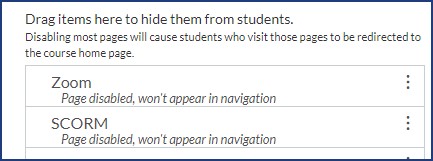
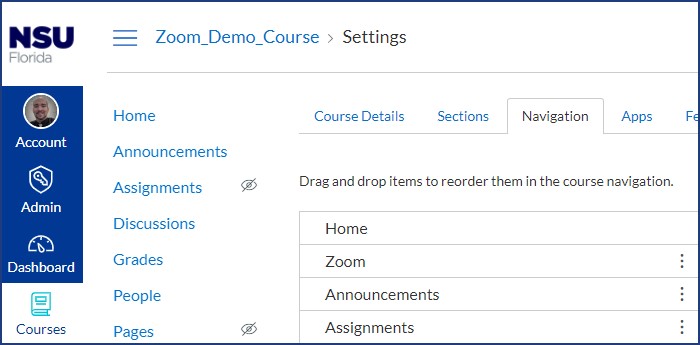
- Click Save at the bottom of the page.
- Zoom will now be in your course menu.
- Click Settings at bottom of course menu.
- If this is the first-time opening Zoom in this course, click Authorize to give Zoom
access.
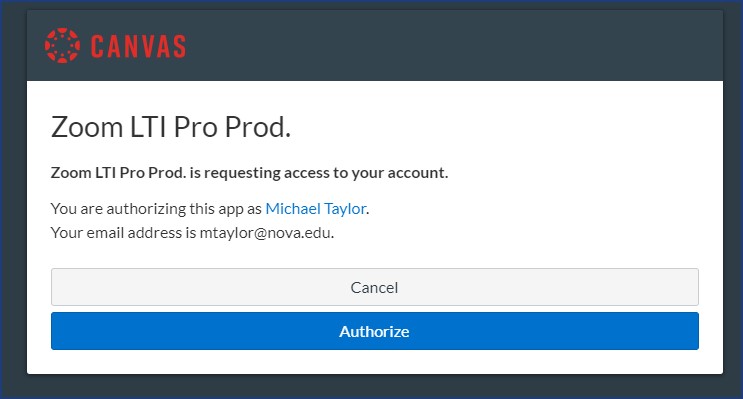
- The Zoom landing page will appear.
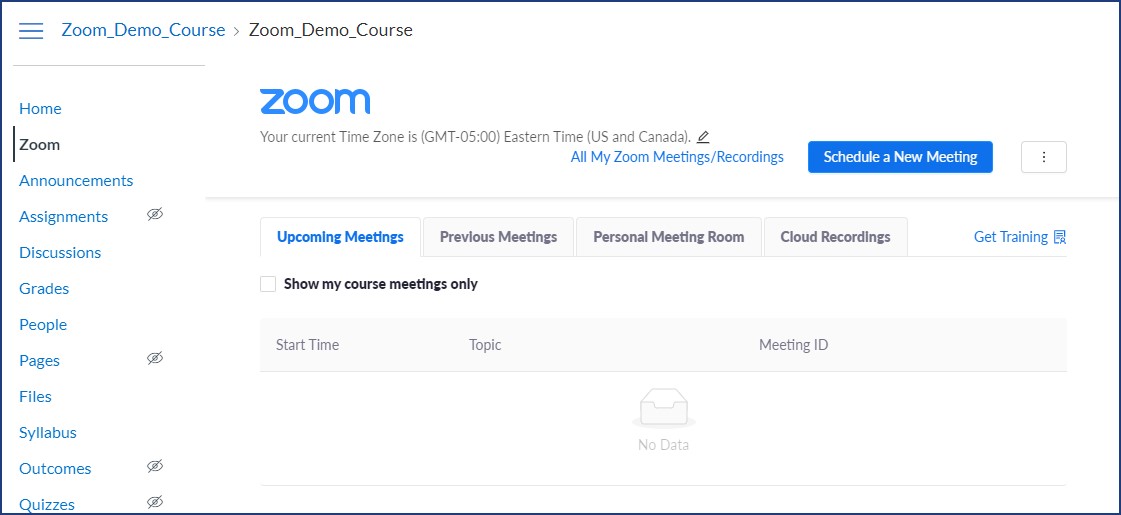
From here you can:
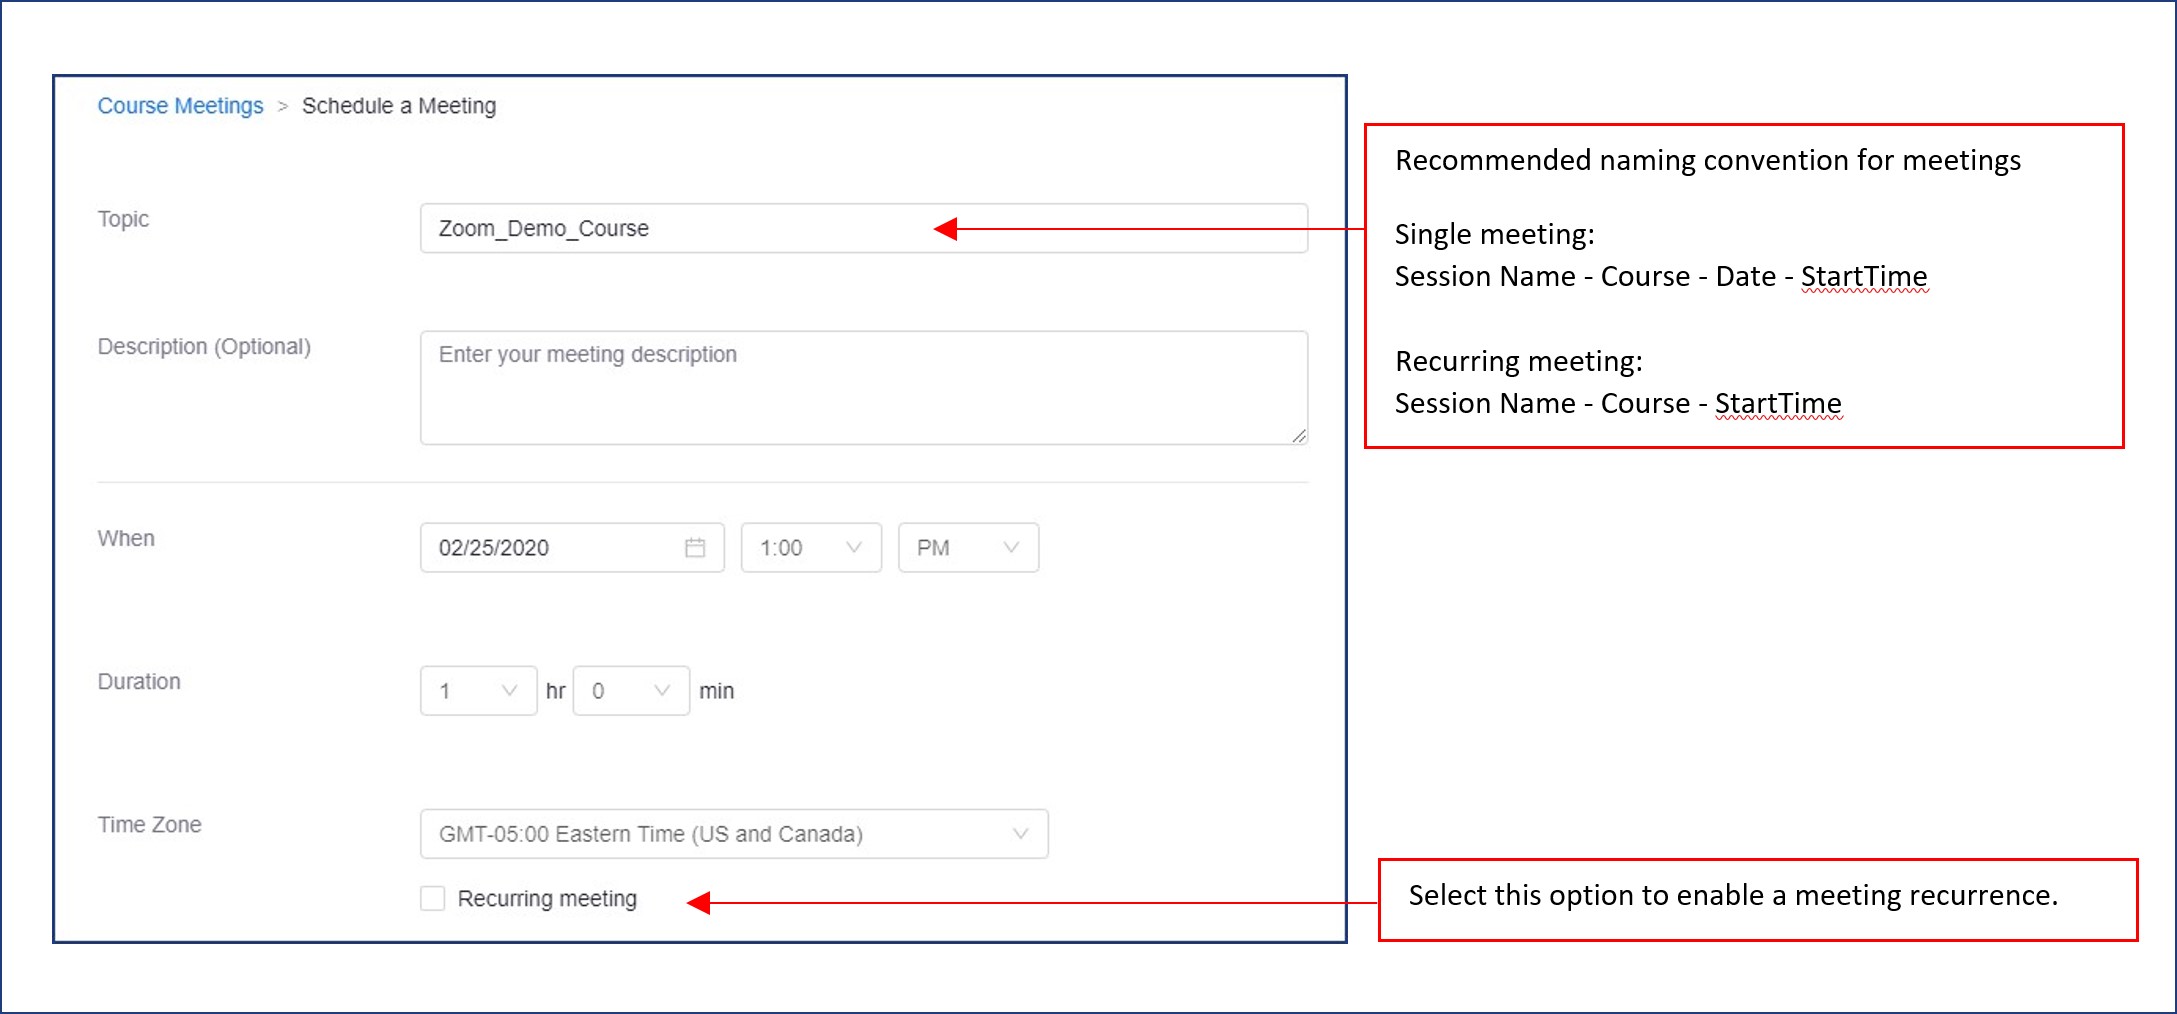
- Schedule a session
- Review previous meetings
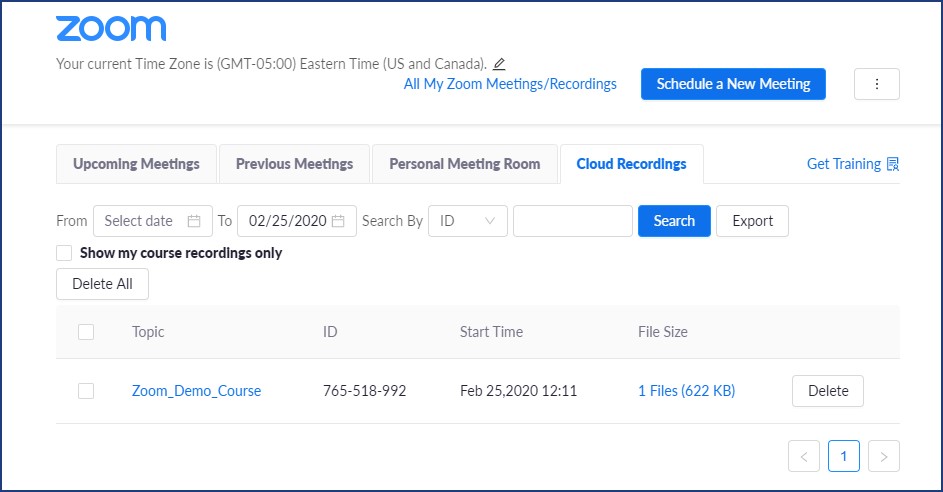
- View cloud recordings for the course
- View all your zoom recordings
- Sign up for training
Zoom recordings in Canvas are available from the Cloud Recordings tab. Recordings are kept in the Zoom cloud for 150 days from the date of creation. At that time, the recording is deleted from Zoom's cloud to make space for newer recordings. A permanent copy of your recording is stored in SharkMedia, is immediately available the day of the original recording, and can be shared in your Canvas course via the Media Gallery, or via https://sharkmedia.nova.edu.