CMS Version 8 User Guide
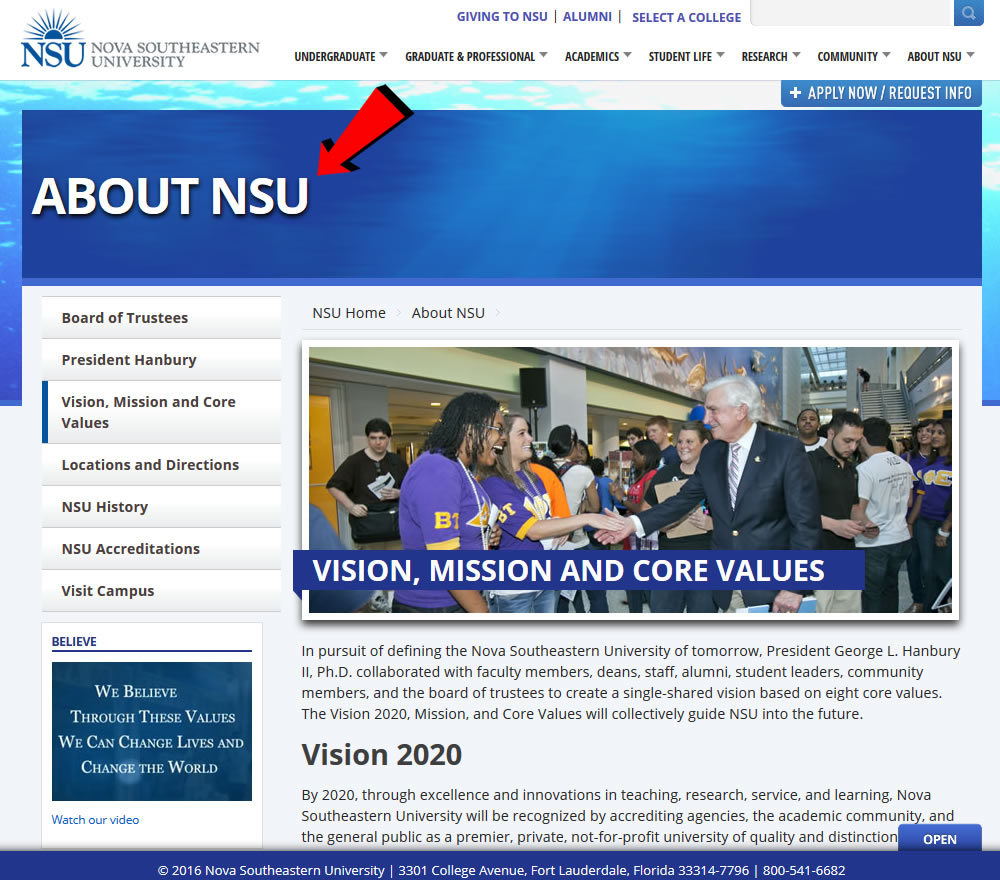
By default, the banner text is determined by the display name of the site's main directory. If you need to update the banner text, you'll have to create a banner block and place it in the site's corresponding _library/blocks directory.
If a specific section in the site needs its own banner text, you can add a banner block in the site's _library/blocks directory that matches the section's path in the directory structure. For example, if the specific section "about/location" needs its own banner text, then the banner block would need to be added under "_library/blocks/about/location."
To create a banner block:
-
Determine if a matching folder for the site resides under _library/blocks.
-
If there's not a matching folder, then select "Add Content > Section Folder" from the top navigation menu.
-
Insert the name of the matching folder in the "Title" field.
-
-
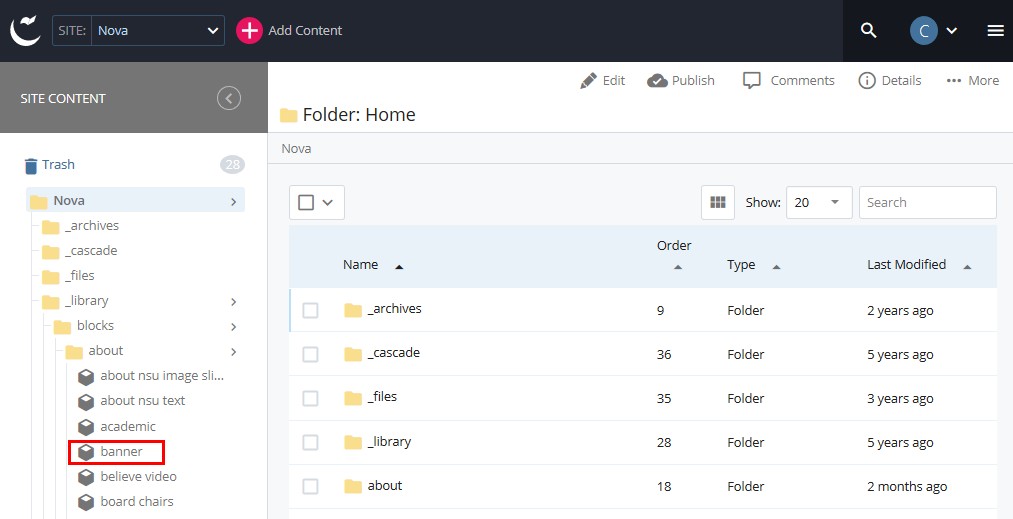
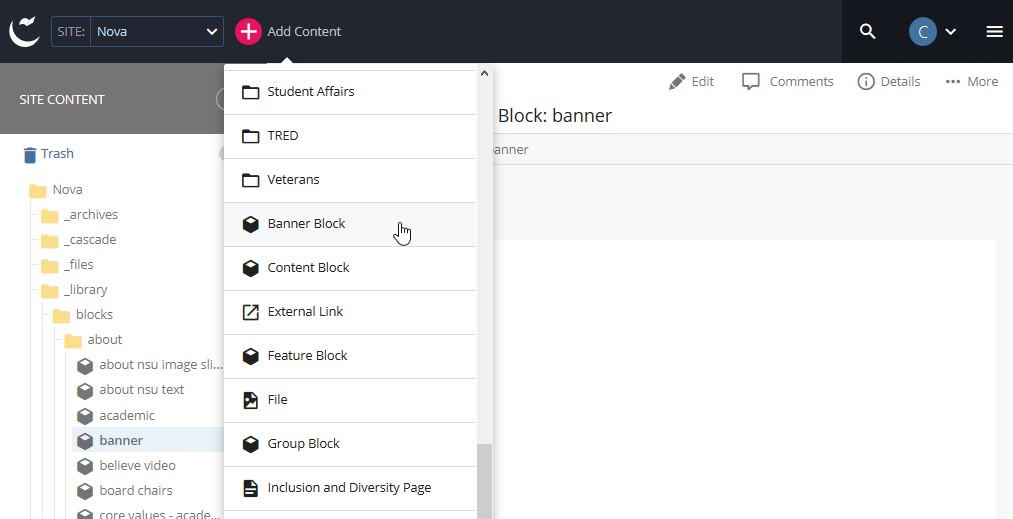
Next, navigate to the folder where you would like to place the banner block, then select "Add Content > Banner Block" from the top navigation menu.
-
Do not change the "XHTML/Data Definition Block Name" field - the name should remain "banner" to function properly.
-
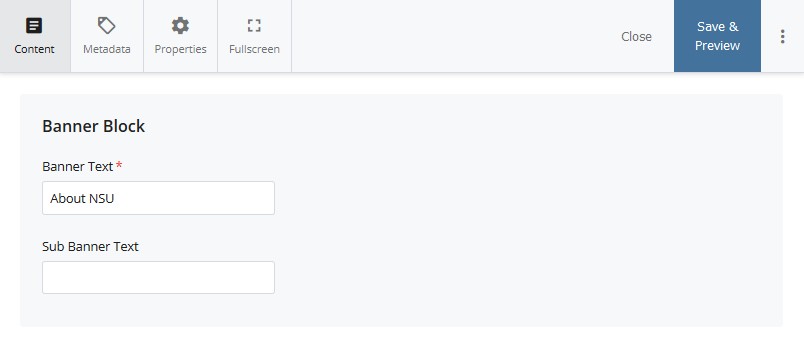
Under "Banner Text," insert the desired title for your page banner.
-
Click "Save & Preview," then "Submit."
To edit a banner block:
-
Select the banner block you would like to edit, then click on the "Edit" link.
-
Update the "Banner Text."
-
Click "Save & Preview," then "Submit."
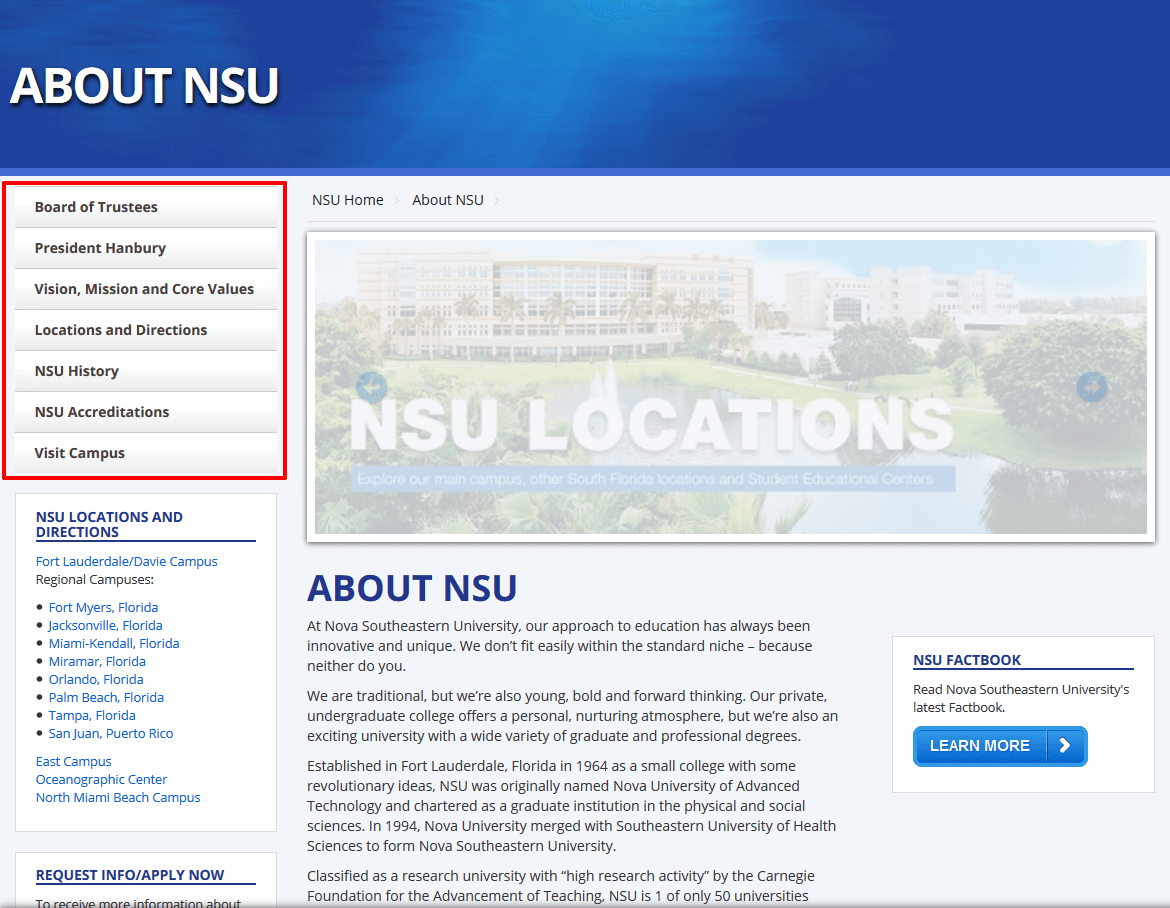
The navigation block controls the left navigation site wide (unless an additional navigation block is specified). The navigation block can be found in the root of the site’s main directory.
If a specific section in the site needs its own navigation, you can use an additional navigation block in the specific directory as needed. For example, if the specific section "about/location" needs its own navigation, then the navigation block would need to be added under "_library/blocks/about/location."
To create a navigation block:
-
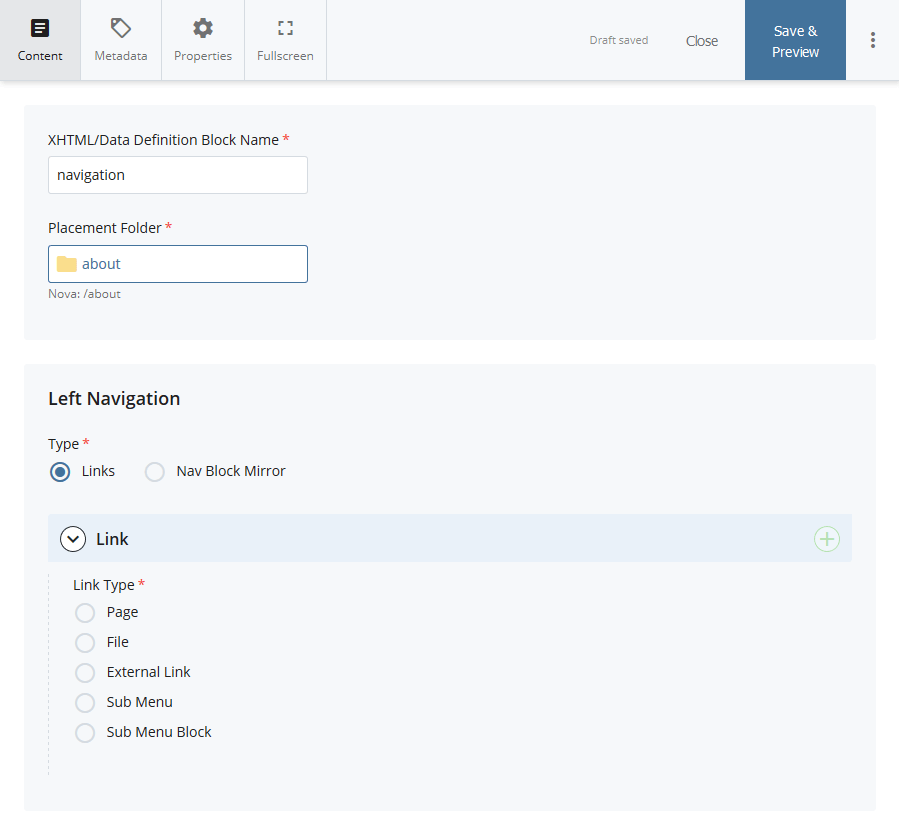
Click on the folder where you would like to place the navigation block. Select "Add Content" from the top navigation menu, then click "Navigation Block."
-
The navigation can then be set up by linking to Pages, Files, External Links, Sub Menus or Sub Menu Blocks.
To edit a navigation block:
-
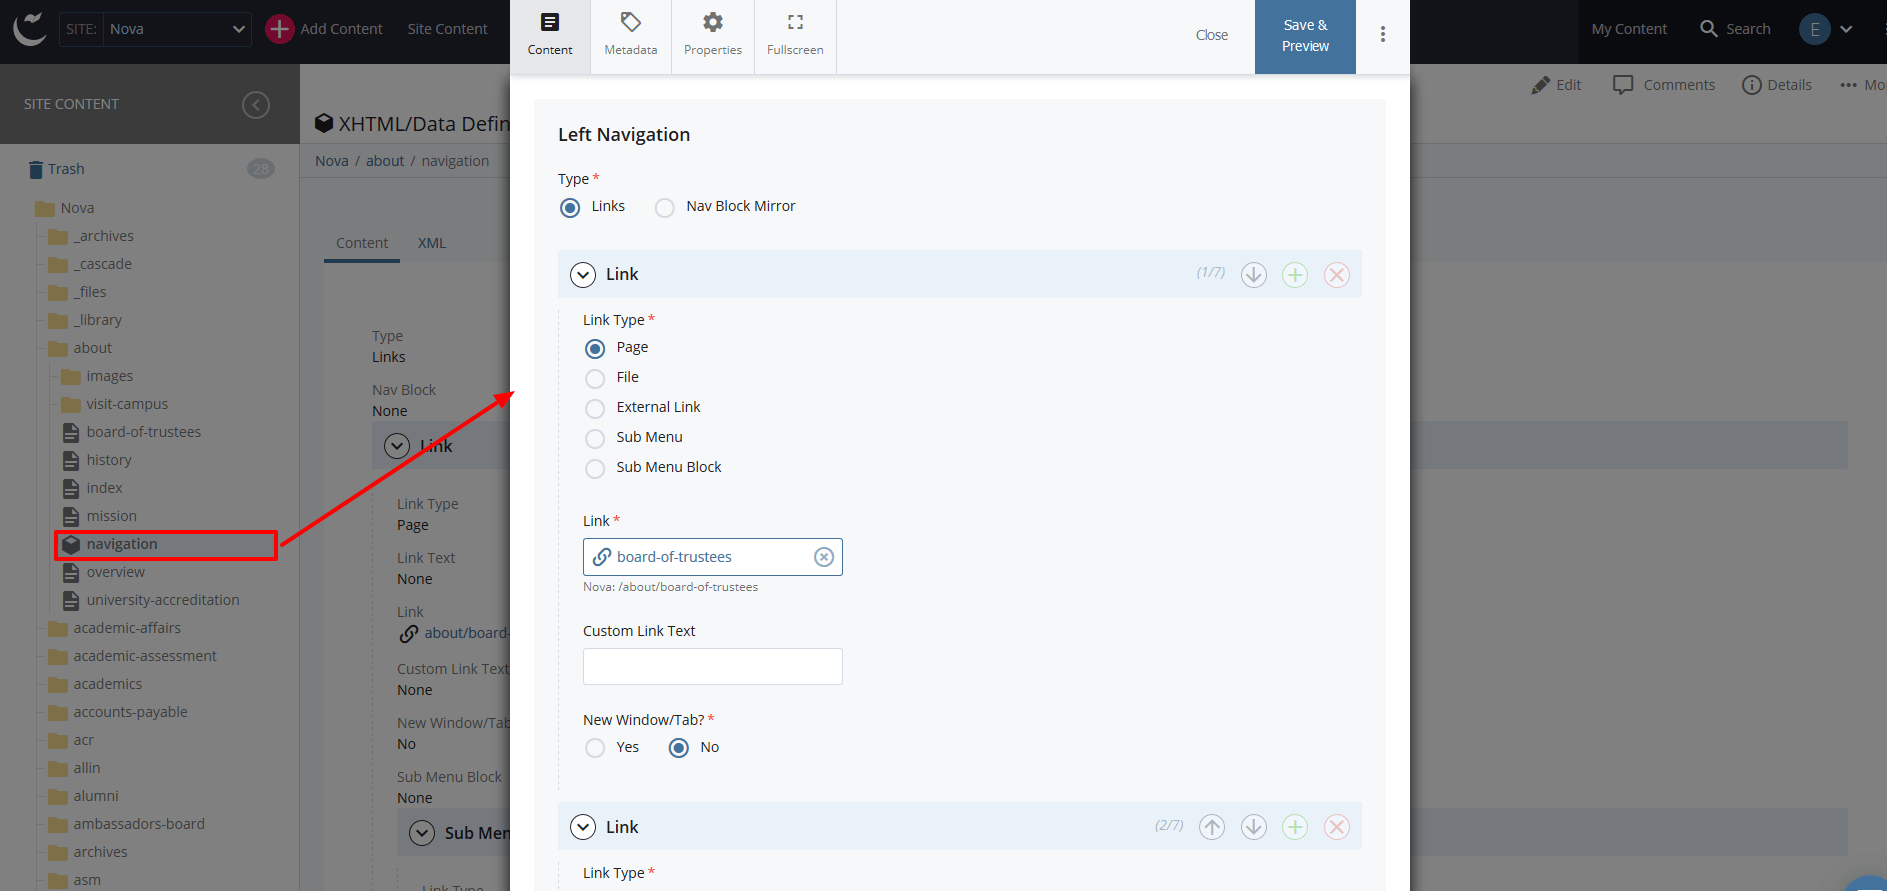
Select the navigation block you would like to modify, then click "Edit".
-
A separate edit screen will appear. To help avoid overlapping changes, you will be notified if another user has recently created a draft of your asset.
-
Update the link(s).
-
Click "Save & Preview" when complete.
Link Types:
Page – any page you can find inside the CMS
-
- can be set to open in a new window
- can be given custom link text; if no custom link text is given, it will use the page's display name.
File – any file (such as PDF) you can find inside the CMS
-
- automatically opens in a new window
- must be given custom link text
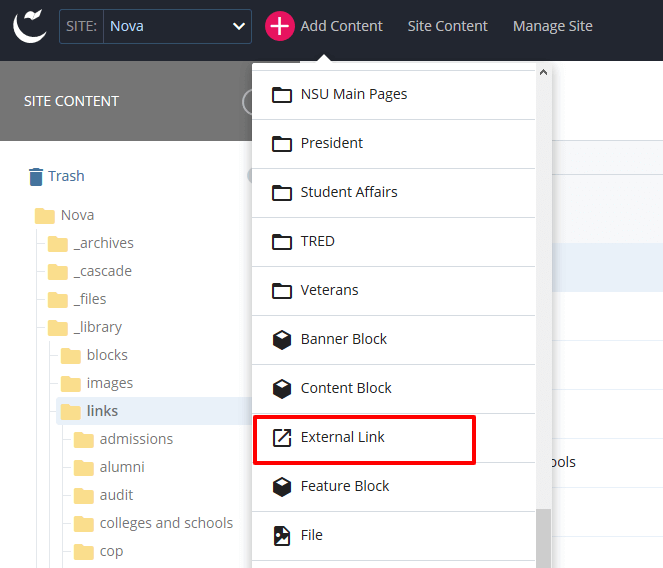
External Link – any link to a page/site NOT inside the CMS
-
- an external link asset must be created first
- automatically opens in a new window
- can be given custom link text; if no custom link text is given, it will use the link's display name and if no display name is found, it will use the link's title.
Sub Menu – set of links in a drop down
-
- must be given custom link text
- Pages, Files and External Links are accepted
- you can add sub menus inside of sub menus (maximum of 4 levels deep)
Sub Menu Block – set of links in a drop down found in its own navigation block
-
- must be given custom link text
- best used for a group of links that need to be displayed on multiple sites
- max 1 level of submenus inside a submenu


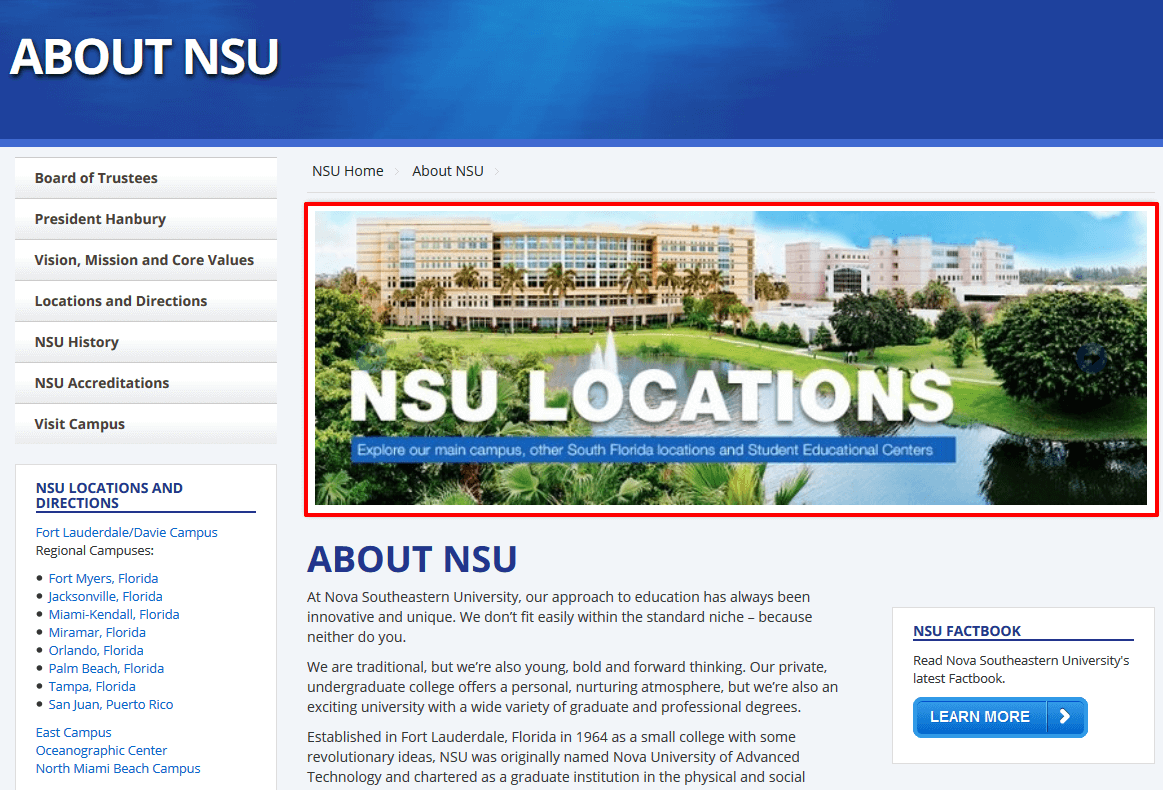
The page media block is used to add photos or a video in the page media area on your page.
Before creating a page media block, you must upload all required images in the CMS. To learn how to upload an image in the CMS, view the Uploading Files section on the Files page.
Page media blocks should be created in the "_library/blocks" directory, inside a folder that corresponds to your site's directory. If the directory does not exist, please create the folder prior to creating the page media block.
To create a page media block:
-
Click the "Go to a Site" field, then select or search for the site where your college or department content appears.
-
Next, click the "Add Content" button, and select the "Page Media Block" asset.
-
In the new block window, provide a short name for your "Block Name." Then update the "Placement Folder" to point to your site's blocks directory.
-
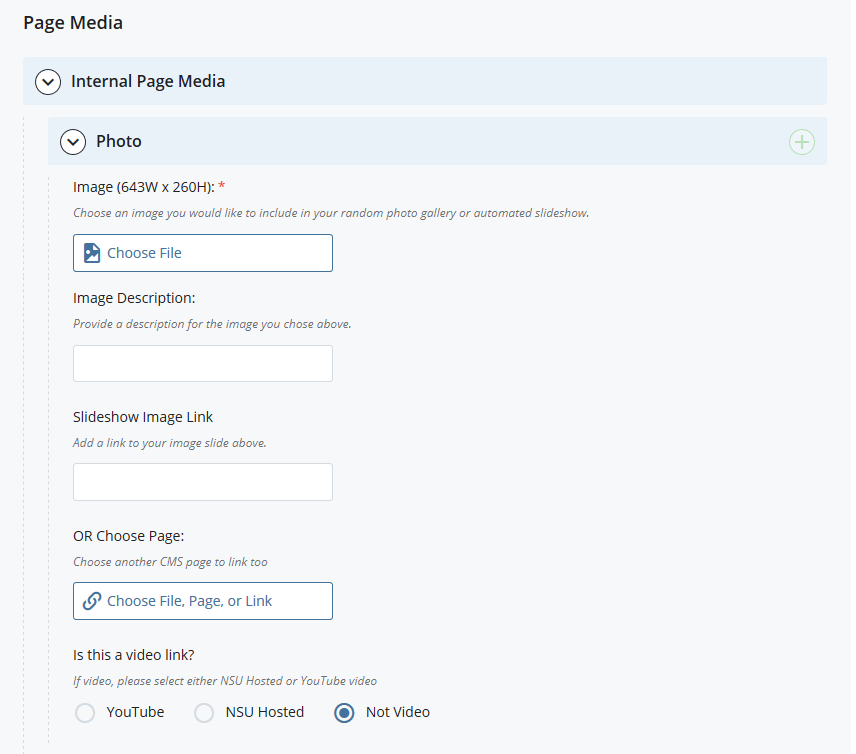
To add an image, select the "Choose File" field to browse for an image. Select the desired image, and then click the "Choose" button.
-
Insert an "Image Description" that briefly describes the image.
-
To make the image a link, click the "Choose Page" field to link to an internal page asset. Otherwise, insert the link in the "Slideshow Image Link" field.
-
Under “Is this a video link?” field, please choose the appropriate option.
-
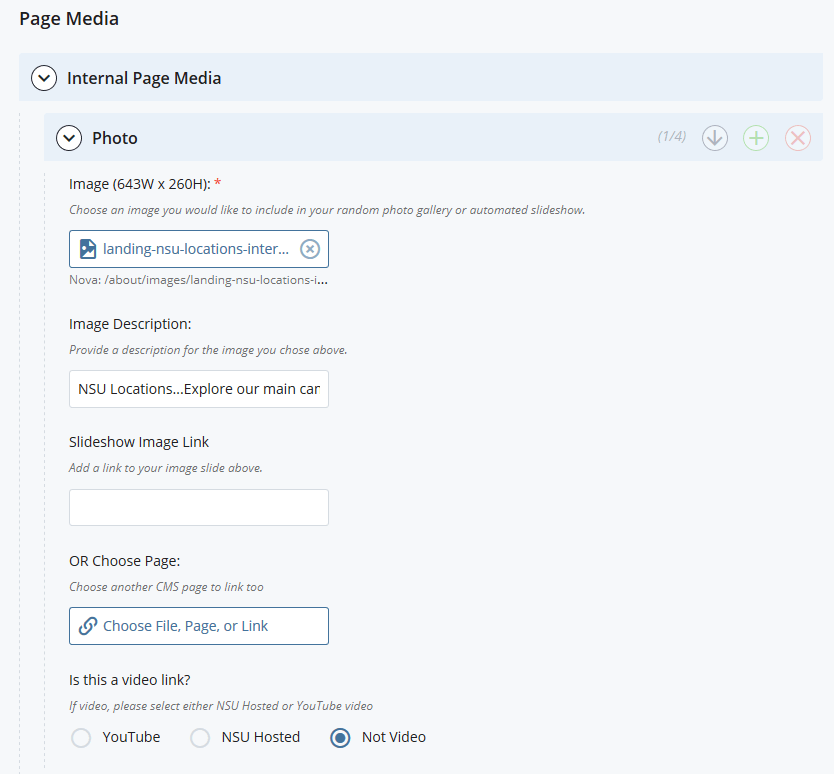
To add more images, click on the green plus sign (
 ) and repeat steps 3-6.
 -
Once complete, click "Save & Preview" or the adjacent Advanced Options button (three vertical dots) to "Submit."

To edit a page media block:
-
Locate the page media block you would like to modify, then click "Edit".
-
A separate edit screen will appear. To help avoid overlapping changes, you will be notified if another user has recently created a draft of your asset.
-
Update the block information accordingly. Images can be added by clicking the green plus sign (
) or removed by clicking the red exclusion sign ( ).
). -
When finished, select "Save & Preview" or the adjacent Advanced Options (three vertical dots) button to "Submit" without previewing.
To add a page media block to your page:
-
Verify that your page media block has been created.
-
In the asset tree, select the page you would like to modify, then click "Edit".
-
Under Page Options, enable the "Media" checkbox.
-
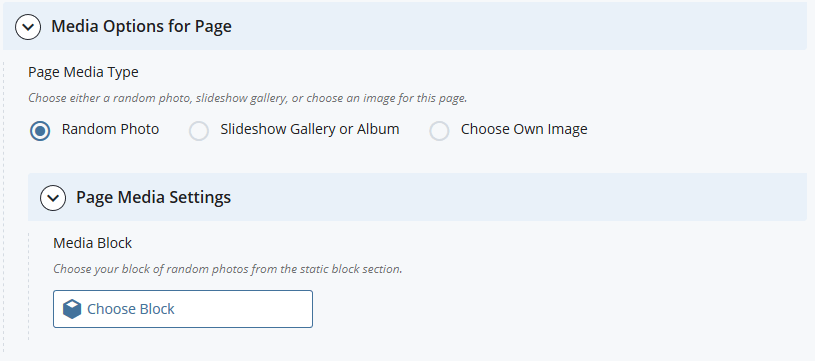
Then select what type of page media block you will be using:
-
Random Photo - The page will display a photo by random from the block on each page load.
-
Slideshow Gallery or Album - The page will display all photos from the block in a slideshow viewer.
-
- Expand the Page Media Settings tab, and click the "Choose Block" field to search for your block.
-
Select the file, then click the "Choose" tab. This will attach the block to your page.
-
You may then use "Save & Preview" to review your changes.
A content block is a reusable block of content that provides a rich text formatting (WYSIWYG) interface, or Data Definition form fields for editing content.
Regions that share static content across multiple pages, such as a disclaimer, generally use "Content Blocks." A single change to one of these blocks will propagate to all pages of the site that reference that particular content block.
To create a content block:
-
Content blocks should be created in the "_library/blocks" directory, inside a folder that corresponds to your site's directory. If the directory does not exist, please create the folder prior to creating the content block.
-
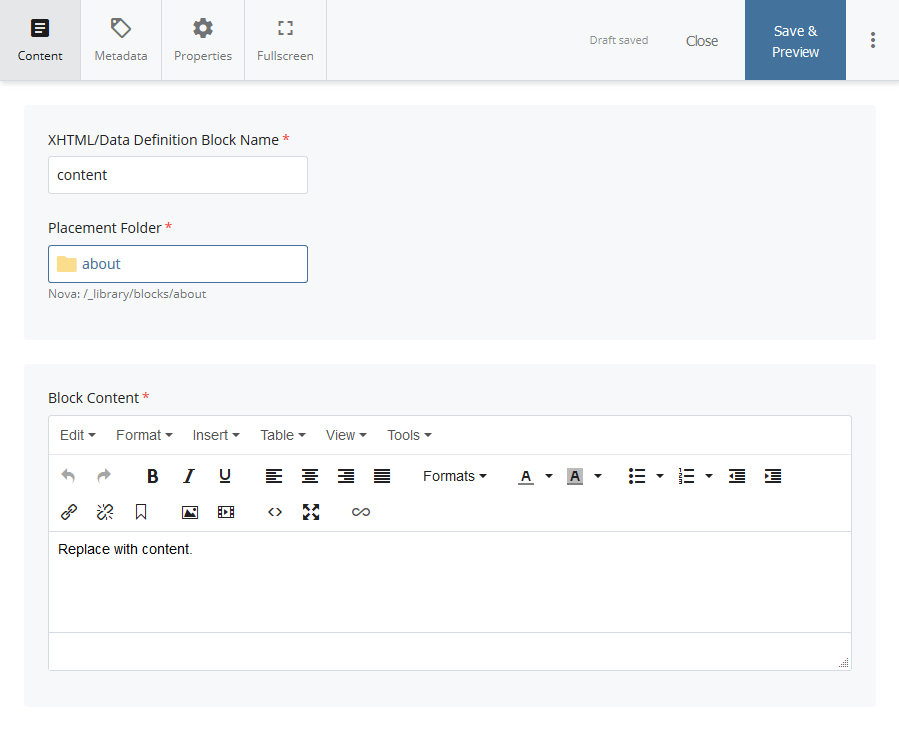
Navigate to the folder where you would like to place the content block, then select "Add Content > Content Block" from the top navigation menu.
-
Under "Block Name," add the name of your block asset.
-
Enter your content into the WYSIWYG editor.
-
Note: If your block will be used for the "Featured Left/Right Content" area, please include a brief header title in the block. To ensure that your block conforms to the proper formatting, select the header text, then click on the "Format" drop down in the editor, and choose "HEADING 3."
-
-
You may preview the content by clicking the "Save & Preview" tab.
- Click "Submit/Start Workflow" to save all changes.

To edit a content block:
-
Select the content block you would like to modify, then click "Edit".
-
A separate edit screen will appear. To help avoid overlapping changes, you will be notified if another user has recently created a draft of your asset.
-
Update the block accordingly.
-
Once complete, click "Save & Preview" or the adjacent Advanced Options button (three vertical dots) to "Submit."
To add a content block to your page:
-
Verify that your content block has been created.
-
In the asset tree, select the page you would like to modify, then click "Edit".
-
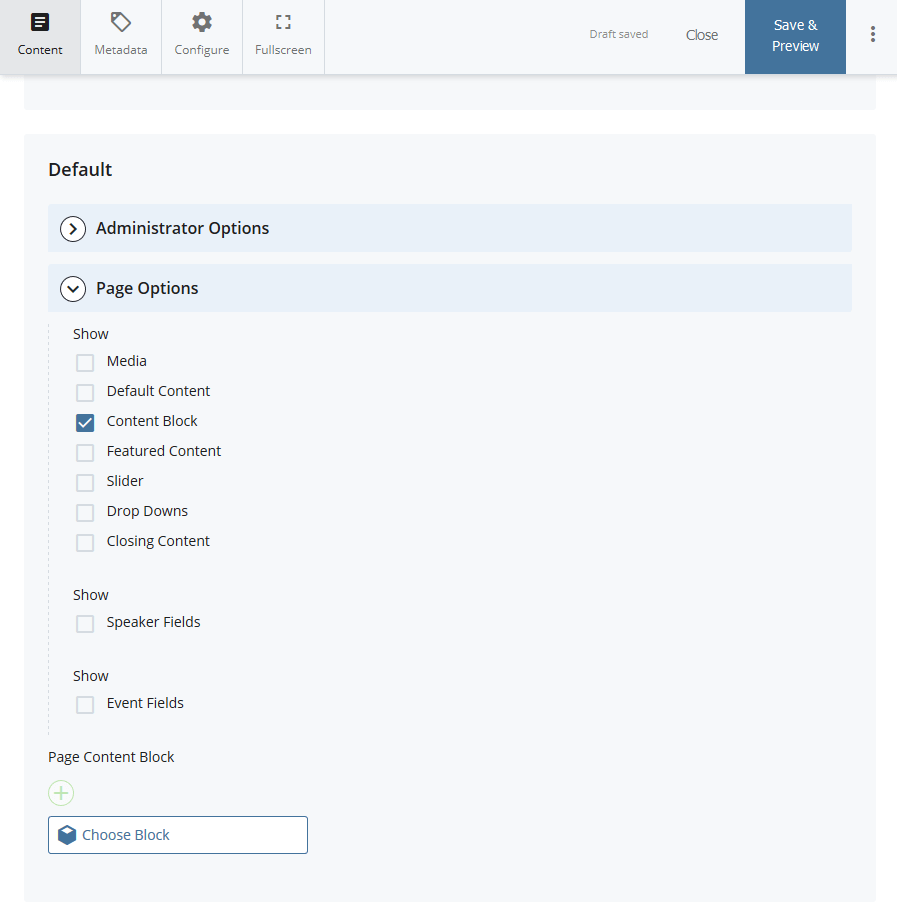
Under Page Options, check off the "Content Block" and/or "Featured Content" checkbox.
-
To place this content block below the main content, use the "Page Content Block" area.
-
To feature this content block on the right or left side of the page, use the designated area under "Featured Content."
-
-
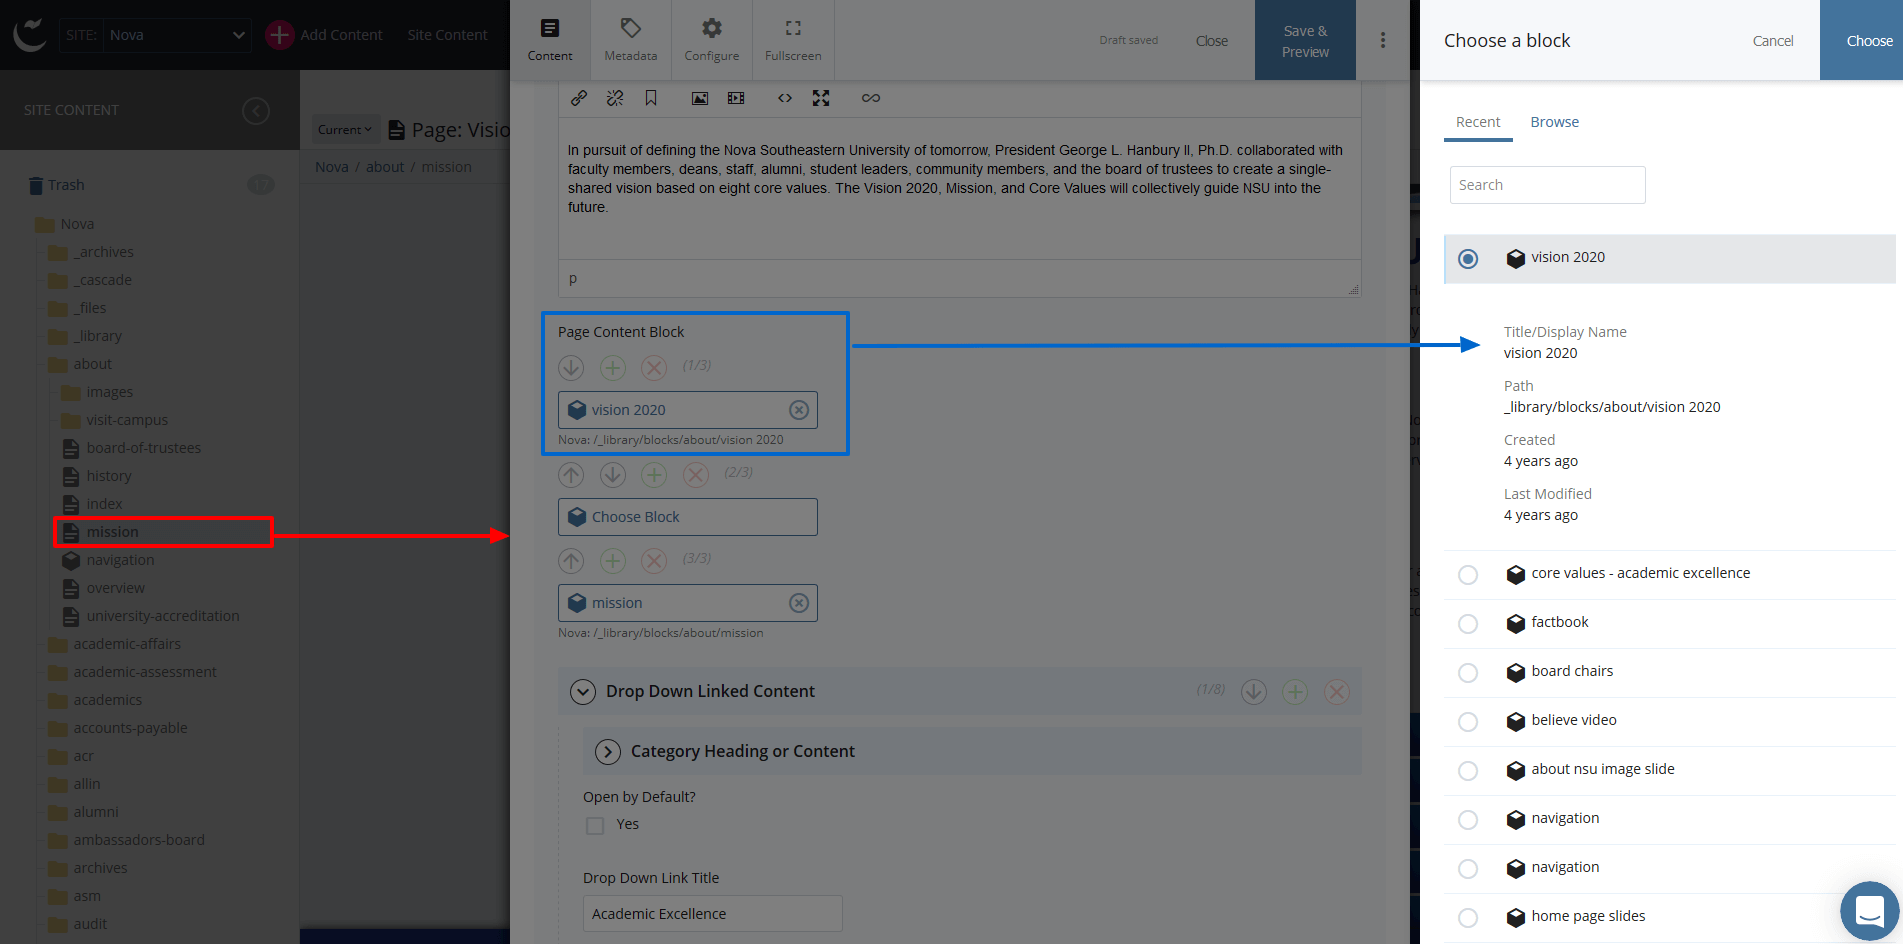
Click the "Choose Block" field to browse for your content block.
-
Click on your file, then click the "Choose" button. This will attach the block to your page.
-
To add additional blocks, click on the green plus sign (
) and repeat steps 4-5. -
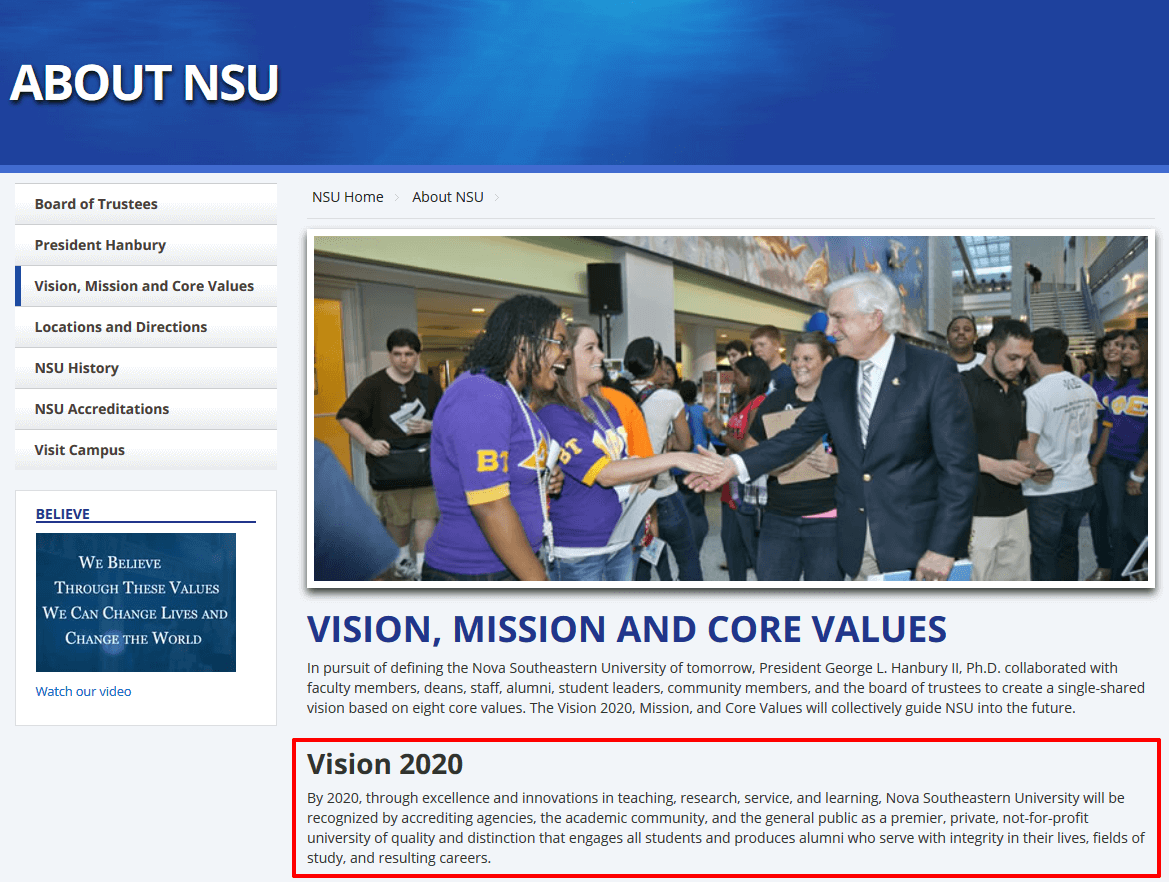
Click "Save & Preview" when complete.
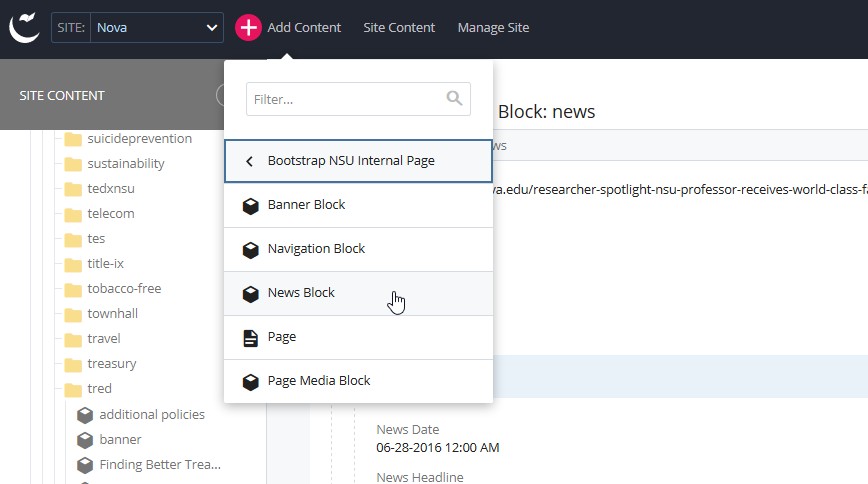
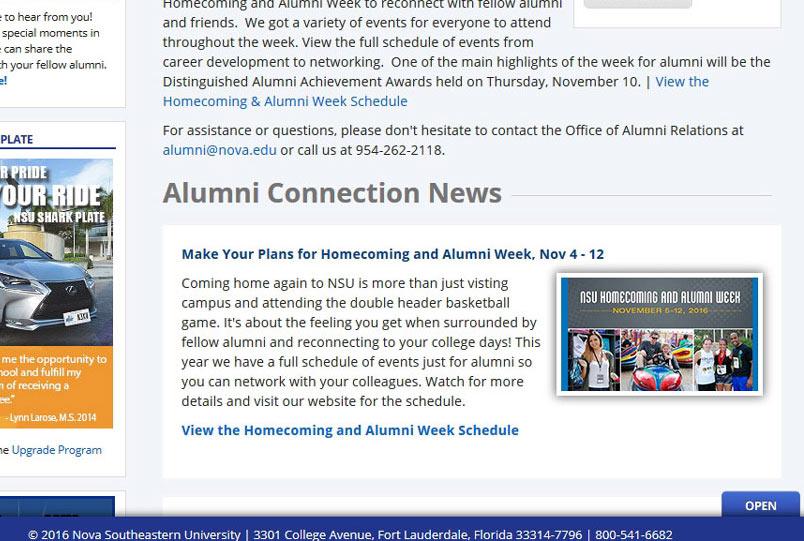
A news block may be used to add a News area to your page(s).
To create a news block:
-
News blocks should be created in the "_library/blocks" directory, inside a folder that corresponds to your site's directory. If the directory does not exist, please create the folder prior to creating the news block.
-
Navigate to the folder where you would like to place the news block, then select "Add Content > News Block" from the top navigation menu.
-
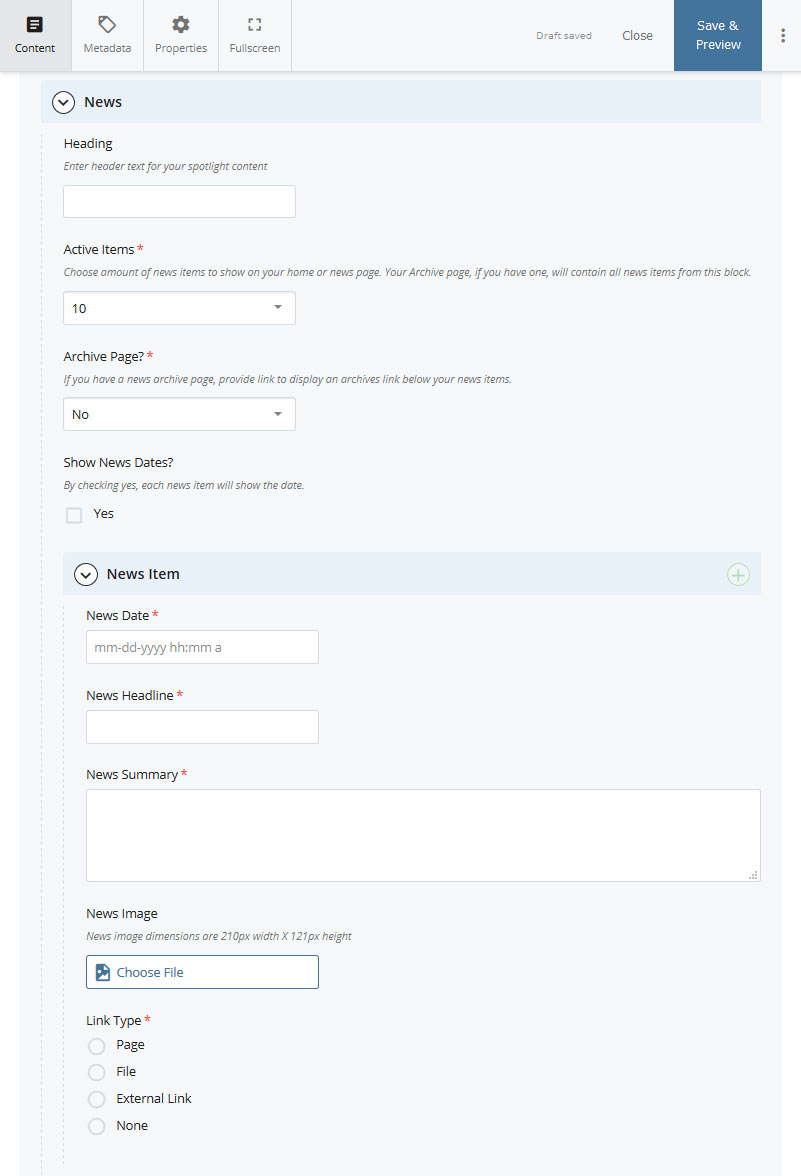
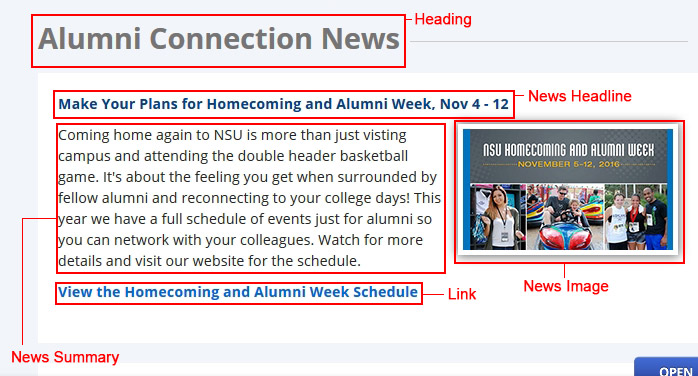
Enter a "Heading" for the News area.
-
Choose the number of "Active [News] Items" you intend to have on your page (up to maximum of 10).
-
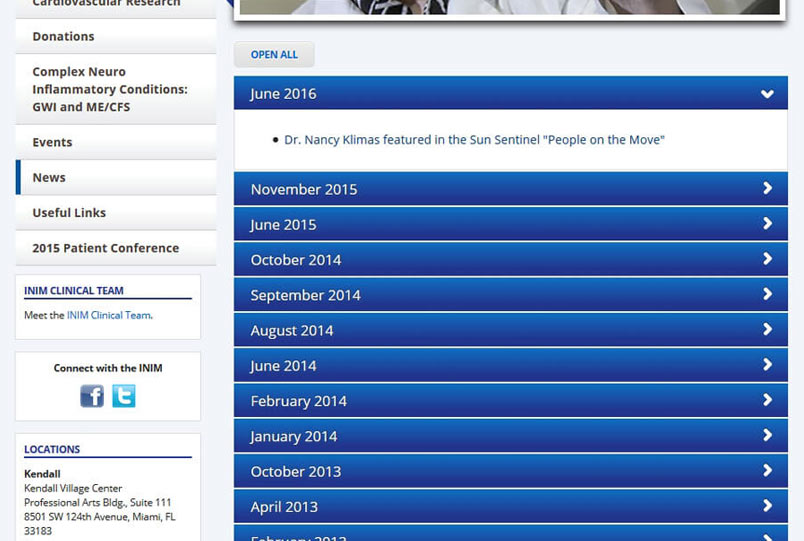
If you choose "Yes" for Archive Page, click the associated "Choose File, Page, or Link" button to locate the page. Note: Archive pages do not have a max number of items and will be displayed in drop downs according to month/year.
-
Select the "Yes" checkbox if you would like to Show News Dates.
-
Complete the "News Date," "News Headline," and "News Summary" fields.
-
If applicable, browse for a "News Image" to associate with your news item by clicking the "Choose File" button.
-
If the news item will contain a link, select the "Link Type" or choose "None."
-
To add more news items, click on the green plus sign (
), located to the right of the News Item header, and repeat steps 7-9. -
Click Save & Preview then Submit.
To edit a news block:
-
Select the news block you would like to edit, then click “Edit” .
-
Update the block accordingly.
-
Click Save & Preview then Submit.
To add a news block to your page:
-
Verify that your news block has been created.
-
In the asset tree, select the page you would like to edit, then click "Edit".
-
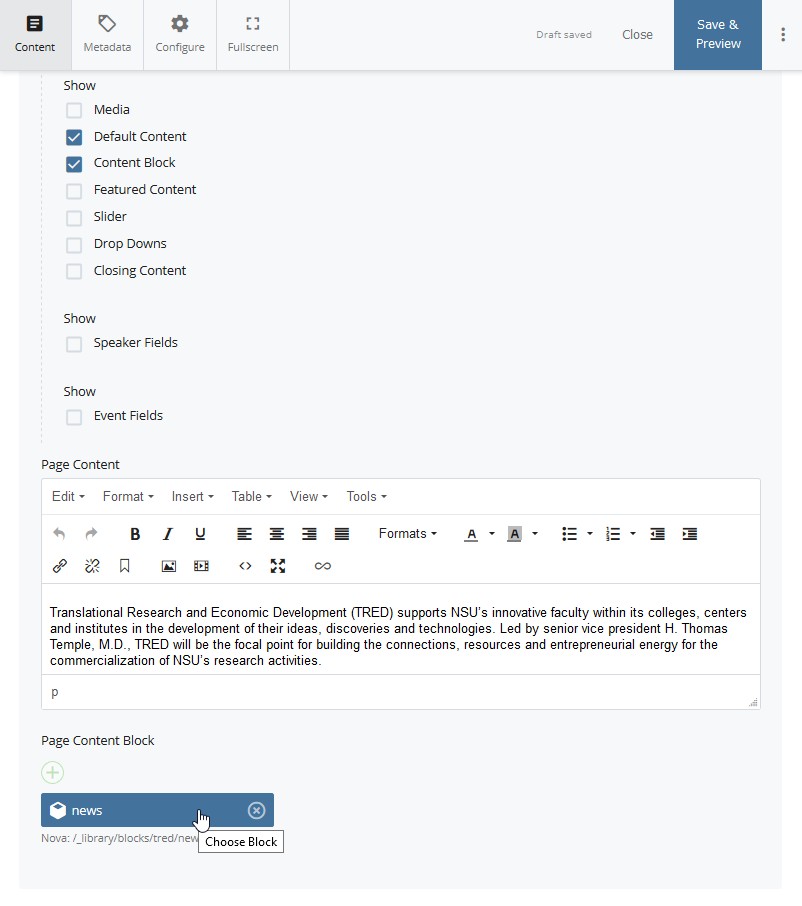
Under Page Options, check off the "Content Block" checkbox.
-
Click the "Choose Block" button (
 ) to browse for your news block.
 -
Click on your file, then click the "Choose" button. This will attach the block to your page. Note: Only one news block can be added to your page. However, additional content blocks can be added.
-
Click Save & Preview then Submit. The news block will appear after the main content on your page.
The CMS will automatically store all assets even after they have been unpublished from the live website. If you would like to remove or delete asset(s) from the CMS, you can choose to manually delete them using the Delete function. If you need to restore an asset, click on the pinned "Trash" icon at the top of the asset tree menu.
Note: There must not be any relationships to the asset(s) you are deleting. To learn more about relationships, view the "Relationships" section below.
Visit the Cascade CMS Knowledge Base for more information on how to remove or delete content.
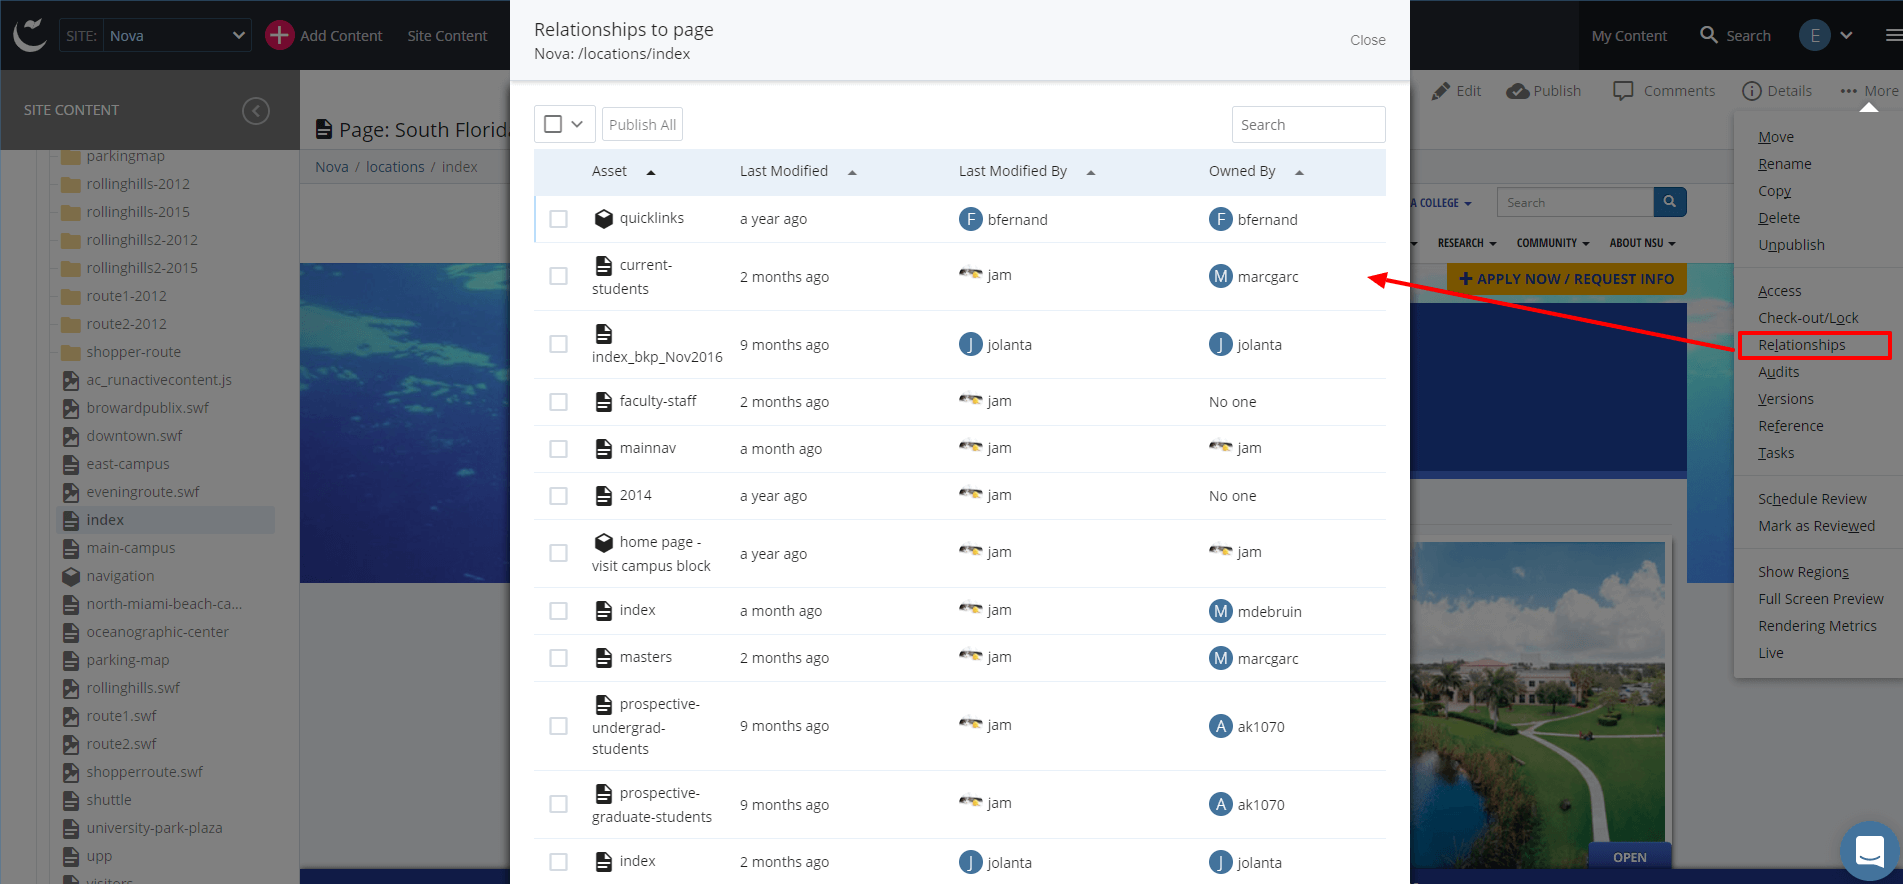
Relationships occur when assets (the "referring assets") refer to another asset (the "related asset"). Referring assets can be viewed on the "Relationships" tab of a related asset. It is important to view a page's relationships prior to deleting. If the page you are about to delete is being referenced by another asset, deleting the page could lead to broken links and/or missing information from the data relationship.
Example: Your page A has a link to page B (page B resides within the CMS). You delete page B. Now, clicking on the link in page A will result in an error page since page B no longer exists. To avoid this error, you must first go to page A, remove the link to page B, then submit and publish page A. Now, you may delete page B with no error.
Relationship Publishing
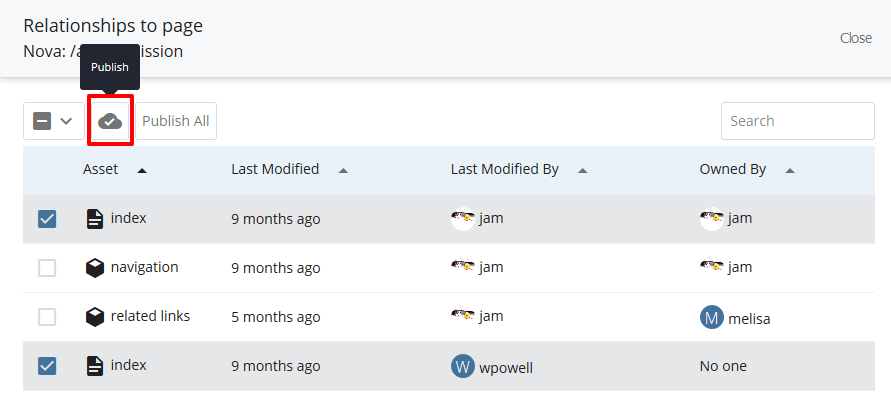
All publishable assets can be published at once by using the "Publish All" button. Alternatively, you can select specific assets to publish by checking the checkboxes next to each one, and then selecting the mini "Publish" icon. If you select any assets that are not publishable, they will get filtered out automatically without any error. The "Publish All" button and the checkboxes will only be visible if there is at least one publishable asset in the list, and the current user has multi-select publish ability.
Publishing Relationships is useful in situations where a given asset's contents are reused in the related assets and the contents have changed. It is also useful when a linked-to asset is moved or renamed.
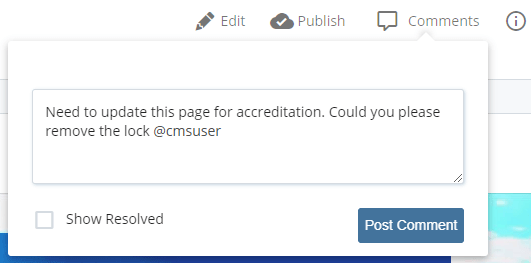
All assets (images, files, pages, and blocks) within the Site Content area support threaded commenting to provide a discussion about the asset. Individual comments can be replied to, (un)resolved, and deleted. It also supports the use of @mentions to target the discussion of a page, task, or other asset to another user.
For more information on comments, refer to the Cascade CMS Knowledge Base artices below:
The CMS keeps track of changes made to assets in separate copies of the asset called Versions (up to 20 per asset). Once the asset has reached the maximum number of versions permitted, each additional change will result in the oldest version of the asset being overwritten. Therefore, the "Save & Preview" option should be utilized prior to submitting asset changes.
Users are able to navigate through the various versions, compare them with the current version, and restore any version desired, if necessary.
To view a version of an asset:
-
Select the desired asset in the CMS.
-
Click "More" located in the top bar.
-
Select “Versions” from the drop-down menu.
-
A separate screen will appear with an itemized list of the last 20 versions.
-
Click on the version you would like to view and it will open in the main view.
-
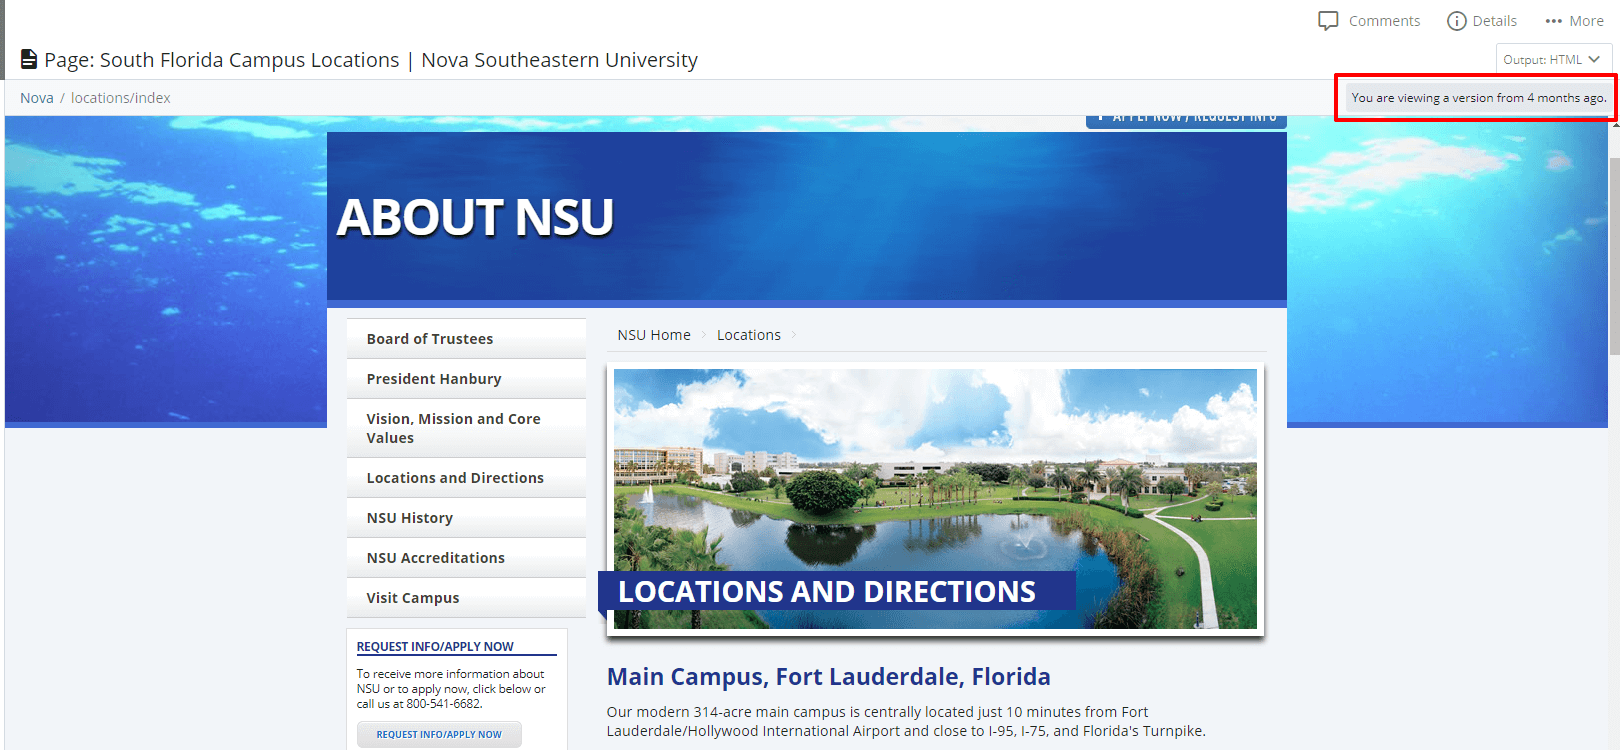
You should see a notification that you are viewing an older version of the asset near the top right of the page. Use the "More" tab to confirm what additional action you wish to take:
-
View newer version - Scroll through to a later version.
-
View older version - Scroll through to an earlier version.
-
View current version - Reverts back to the active or current version.
-
*Restore this version - Makes the currently viewed version the active or current version.
-
*Delete this version - Deletes the currently viewed version from the versions list.
*You will only see this option if you have the appropriate permissions to edit the asset.
-
Review the Cascade CMS Knowledge Base for more information on Version History.

For any questions on web site updates, please submit a 'Web Content' request through the OIIT Project Intake and Support.