CMS Version 8 User Guide
Images are files in .jpg, .gif, or .png format that contain clipart or graphics that can be displayed on a website.
In the CMS, they are typically stored in directories labeled "images."
To insert an image onto your Web page or content block, you will first need to upload the image to the CMS. Refer to the Files and Images Best Practices sections of this documentation to assist you in uploading your image.
Visit the Cascade CMS Knowledge Base for information on how to add images to pages and blocks.
-
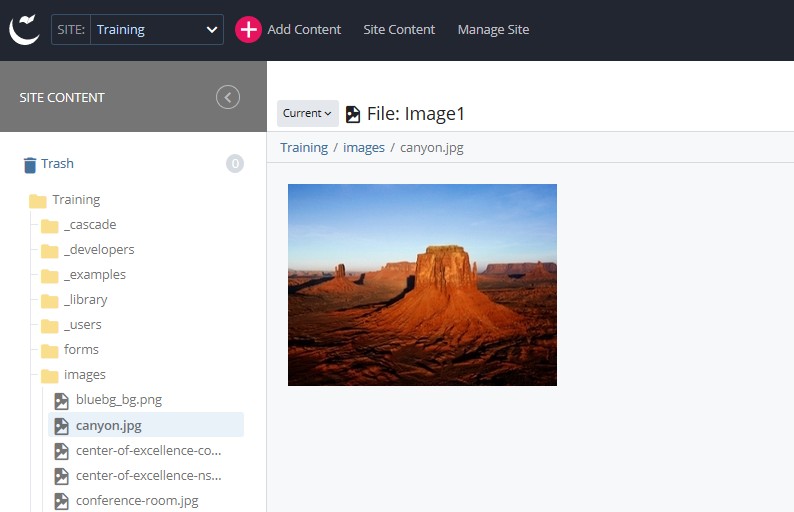
In the asset tree, navigate to the image you would like to edit, then click on the image.
-
Once the image has loaded, click "Edit" located above and to the right of the image. (If there is no Edit link, you do not have permission to update the image.)
-
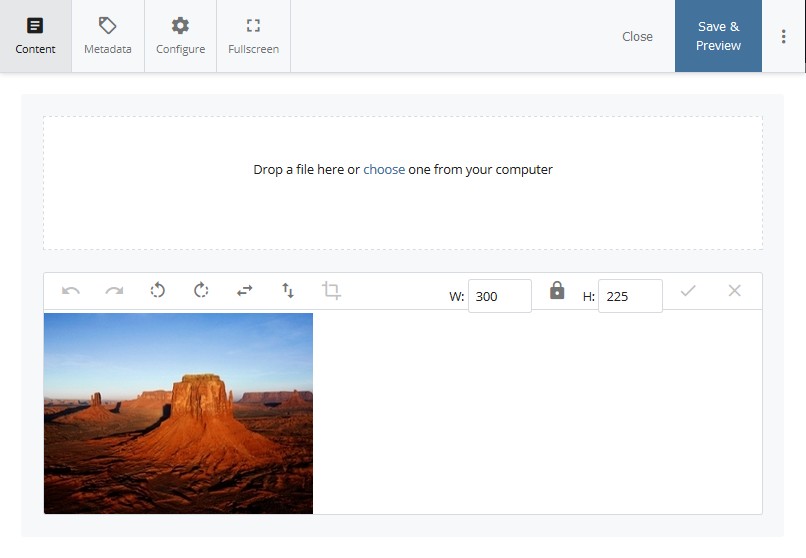
On the image editing toolbar, you will find four basic editing options for the existing image:
-
Rotate Clockwise (
 ) or Counterclockwise (
 )
) -
Flip Horizontal (
 ) or Vertical (
 )
)
-
Crop - To crop your image, click and drag on the desired portion of the image. Then click the "Crop" (
 ) button on the toolbar.
 -
Resize - To resize your image, enter the desired width (W) or height (H). Then click the checkmark (✔) to save your changes. Note: The "closed lock" (
 ) symbol between the width and height fields ensures that the size of the image remains proportional to the original dimensions. If you need a specific height and width, use the crop tool.
To replace the entire image, refer to step 4. The image editor also provides an "Undo" (
 ) and "Redo" (
 ) history button.
 -
-
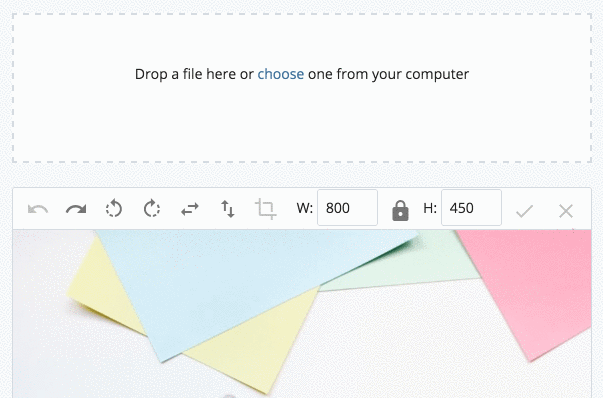
To replace the existing image with a new one: you may either "Drag & Drop" the new image, or click the "choose" option to browse for the new image. Note: The new image file must be the same file type (.jpg, .png, .gif).
-
Click "Save & Preview" to review image, and "Submit" to confirm your changes are complete.
Publishing/Un-Publishing
When an asset is saved in the CMS, the new or changed asset is set as the current version, but is not automatically published. Only Site Managers have permission to manually publish content. For assistance with publishing or un-publishing an asset, we encourage site managers to review the following articles from the Cascade CMS Knowledge Base.
For Site Contributors, all of your asset creation or editing will be sent through a one-step Site Manager approval workflow. Once your Site Manager has reviewed and approved your workflow, the asset will be published to the live production Website.
The CMS will automatically store all assets even after they have been unpublished from the live website. If you would like to remove or delete asset(s) from the CMS, you can choose to manually delete them using the Delete function. If you need to restore an asset, click on the pinned "Trash" icon at the top of the asset tree menu.
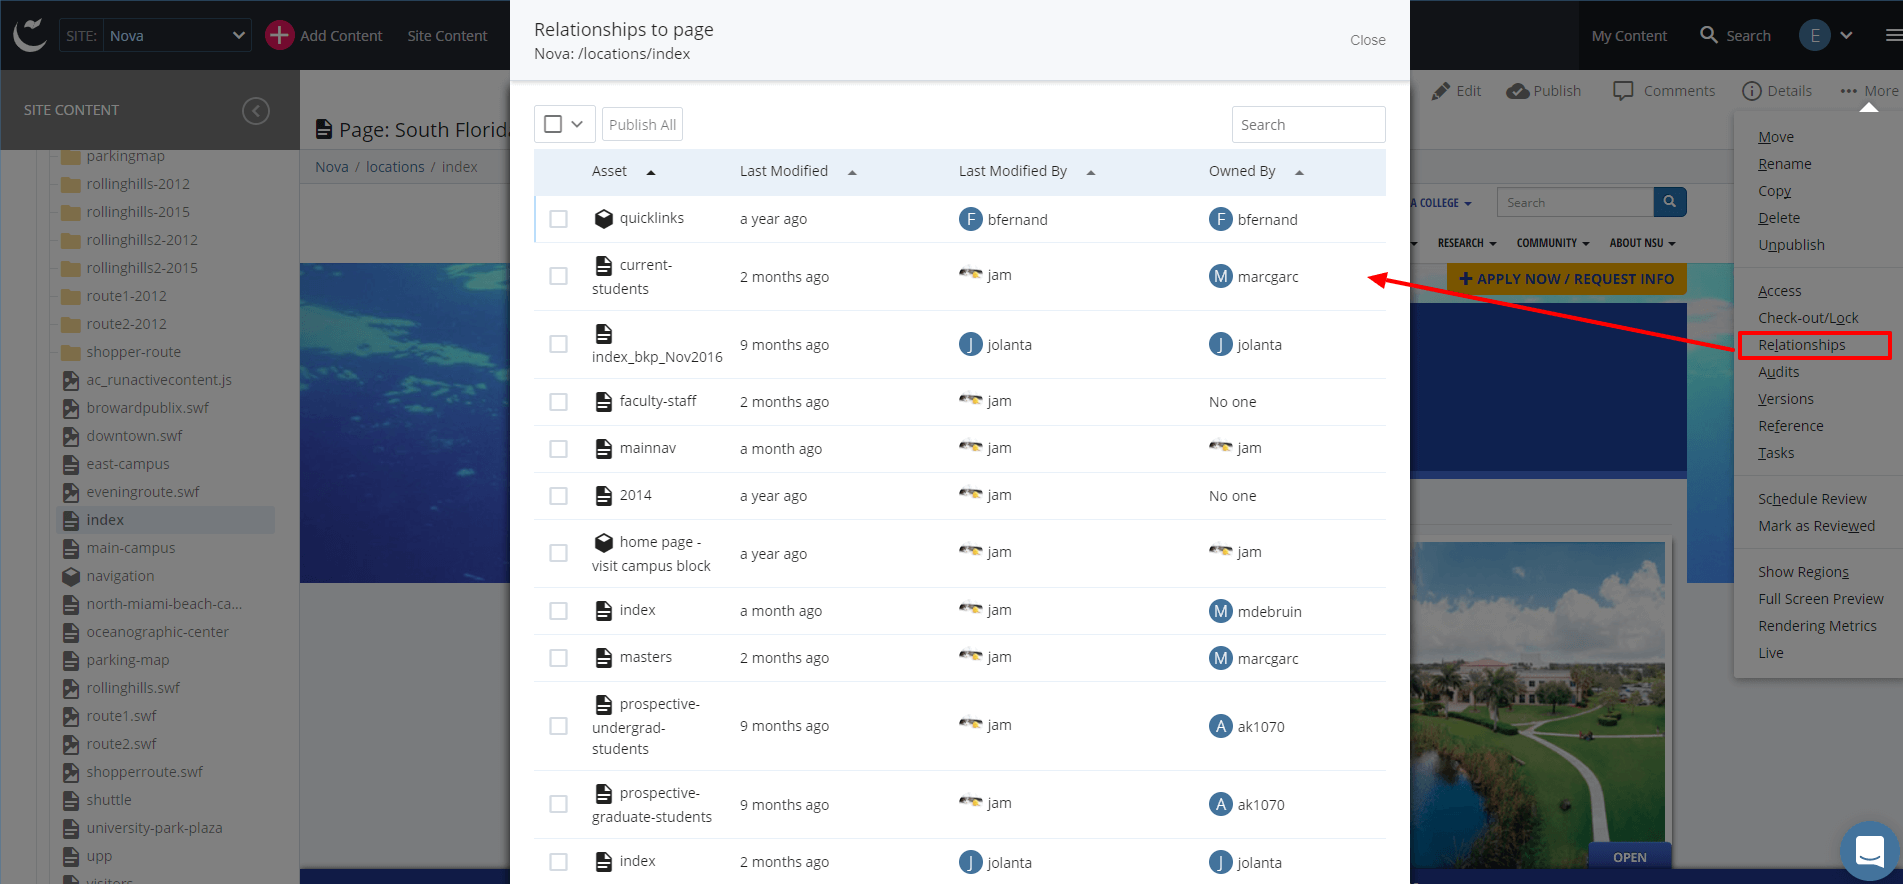
Note: There must not be any relationships to the asset(s) you are deleting. To learn more about relationships, view the "Relationships" section below.
Visit the Cascade CMS Knowledge Base for more information on how to remove or delete content.
Relationships occur when assets (the "referring assets") refer to another asset (the "related asset"). Referring assets can be viewed on the "Relationships" tab of a related asset. It is important to view a page's relationships prior to deleting. If the page you are about to delete is being referenced by another asset, deleting the page could lead to broken links and/or missing information from the data relationship.
Example: Your page A has a link to page B (page B resides within the CMS). You delete page B. Now, clicking on the link in page A will result in an error page since page B no longer exists. To avoid this error, you must first go to page A, remove the link to page B, then submit and publish page A. Now, you may delete page B with no error.
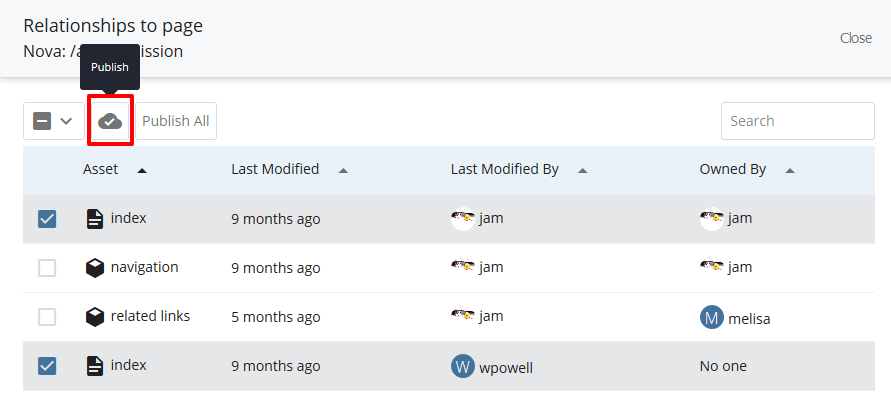
Relationship Publishing
All publishable assets can be published at once by using the "Publish All" button. Alternatively, you can select specific assets to publish by checking the checkboxes next to each one, and then selecting the mini "Publish" icon. If you select any assets that are not publishable, they will get filtered out automatically without any error. The "Publish All" button and the checkboxes will only be visible if there is at least one publishable asset in the list, and the current user has multi-select publish ability.
Publishing Relationships is useful in situations where a given asset's contents are reused in the related assets and the contents have changed. It is also useful when a linked-to asset is moved or renamed.
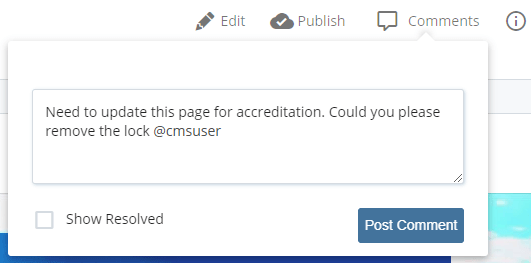
All assets (images, files, pages, and blocks) within the Site Content area support threaded commenting to provide a discussion about the asset. Individual comments can be replied to, (un)resolved, and deleted. It also supports the use of @mentions to target the discussion of a page, task, or other asset to another user.
For more information on comments, refer to the Cascade CMS Knowledge Base artices below:
The CMS keeps track of changes made to assets in separate copies of the asset called Versions (up to 20 per asset). Once the asset has reached the maximum number of versions permitted, each additional change will result in the oldest version of the asset being overwritten. Therefore, the "Save & Preview" option should be utilized prior to submitting asset changes.
Users are able to navigate through the various versions, compare them with the current version, and restore any version desired, if necessary.
To view a version of an asset:
-
Select the desired asset in the CMS.
-
Click "More" located in the top bar.
-
Select “Versions” from the drop-down menu.
-
A separate screen will appear with an itemized list of the last 20 versions.
-
Click on the version you would like to view and it will open in the main view.
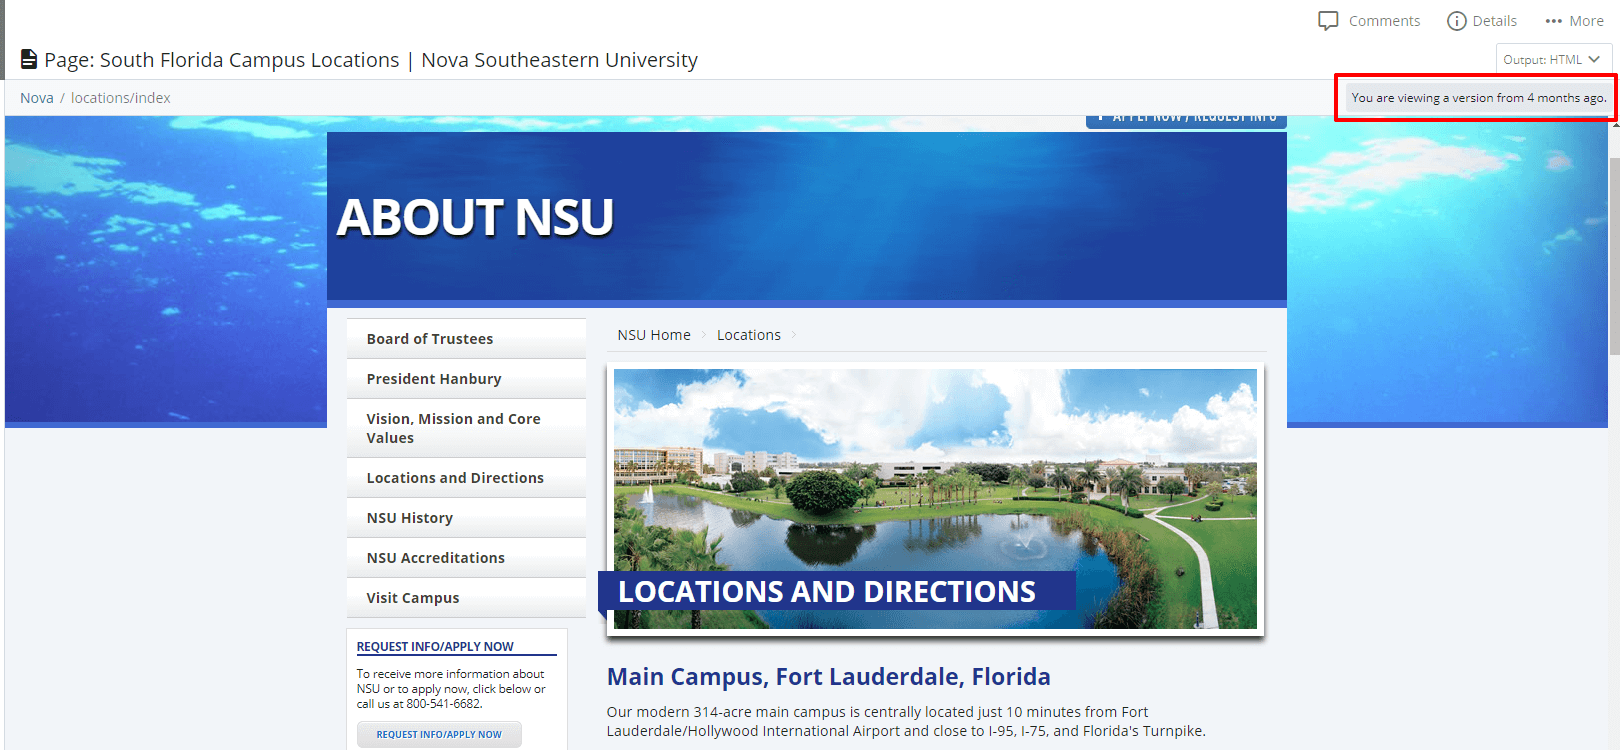
-
You should see a notification that you are viewing an older version of the asset near the top right of the page. Use the "More" tab to confirm what additional action you wish to take:
-
View newer version - Scroll through to a later version.
-
View older version - Scroll through to an earlier version.
-
View current version - Reverts back to the active or current version.
-
*Restore this version - Makes the currently viewed version the active or current version.
-
*Delete this version - Deletes the currently viewed version from the versions list.
*You will only see this option if you have the appropriate permissions to edit the asset.
-
Review the Cascade CMS Knowledge Base for more information on Version History.

For any questions on web site updates, please submit a 'Web Content' request through the OIIT Project Intake and Support.